
Last updated November 15, 2026
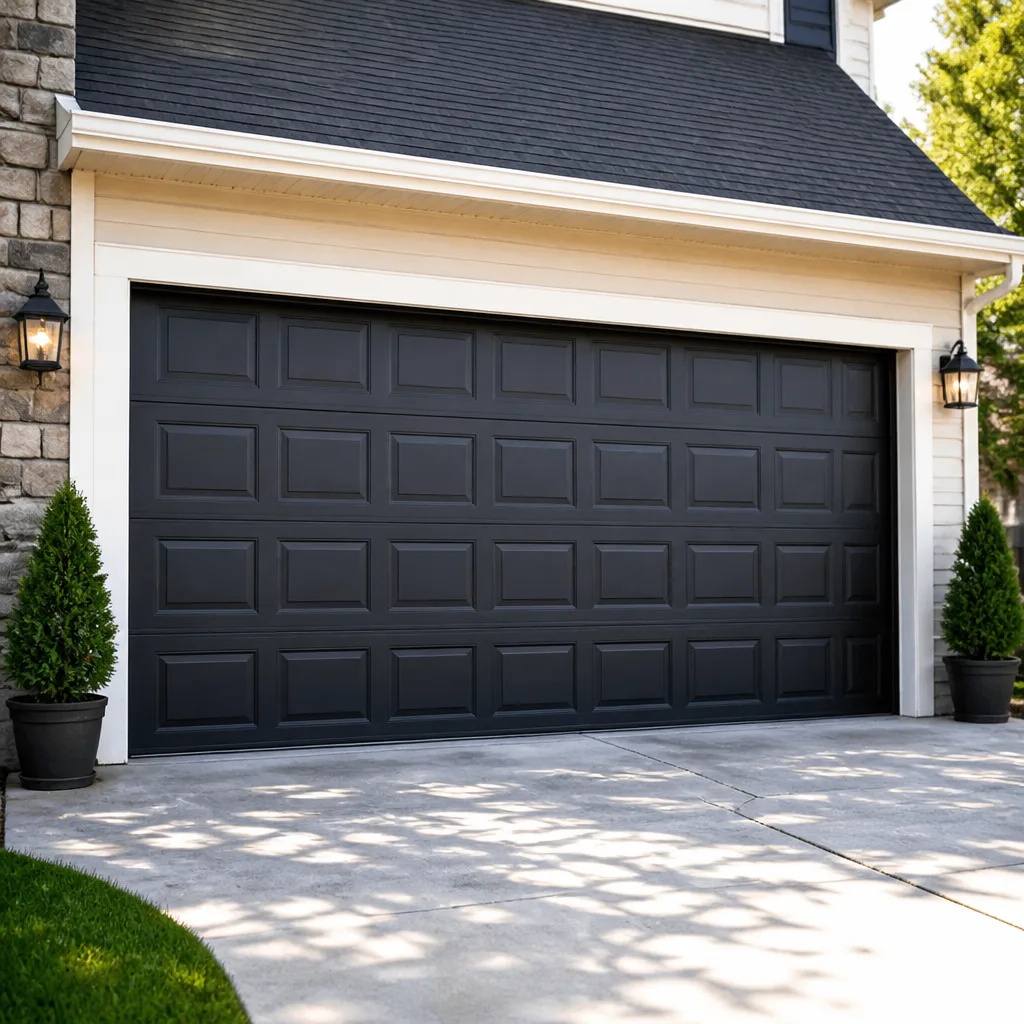 Raised-panel steel
 Carriage house
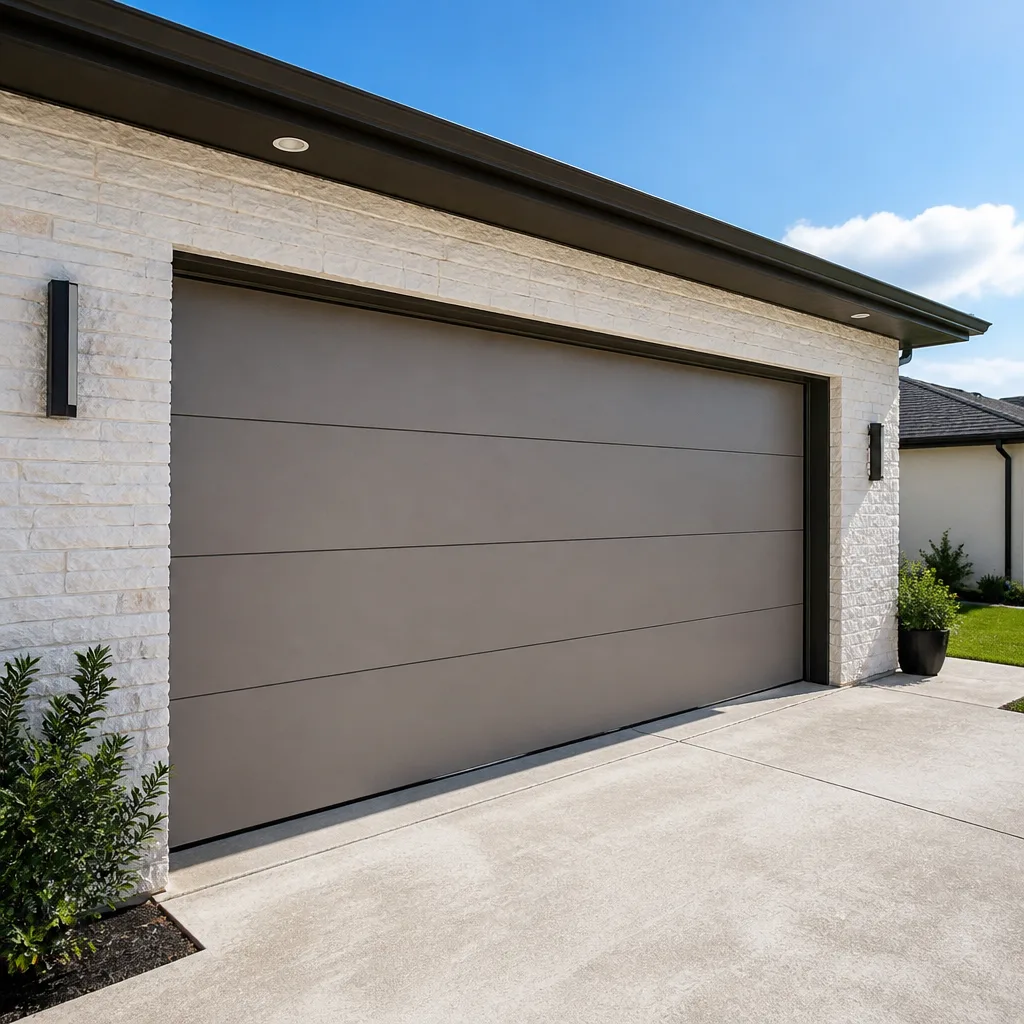 Modern flush
 Full-view glass
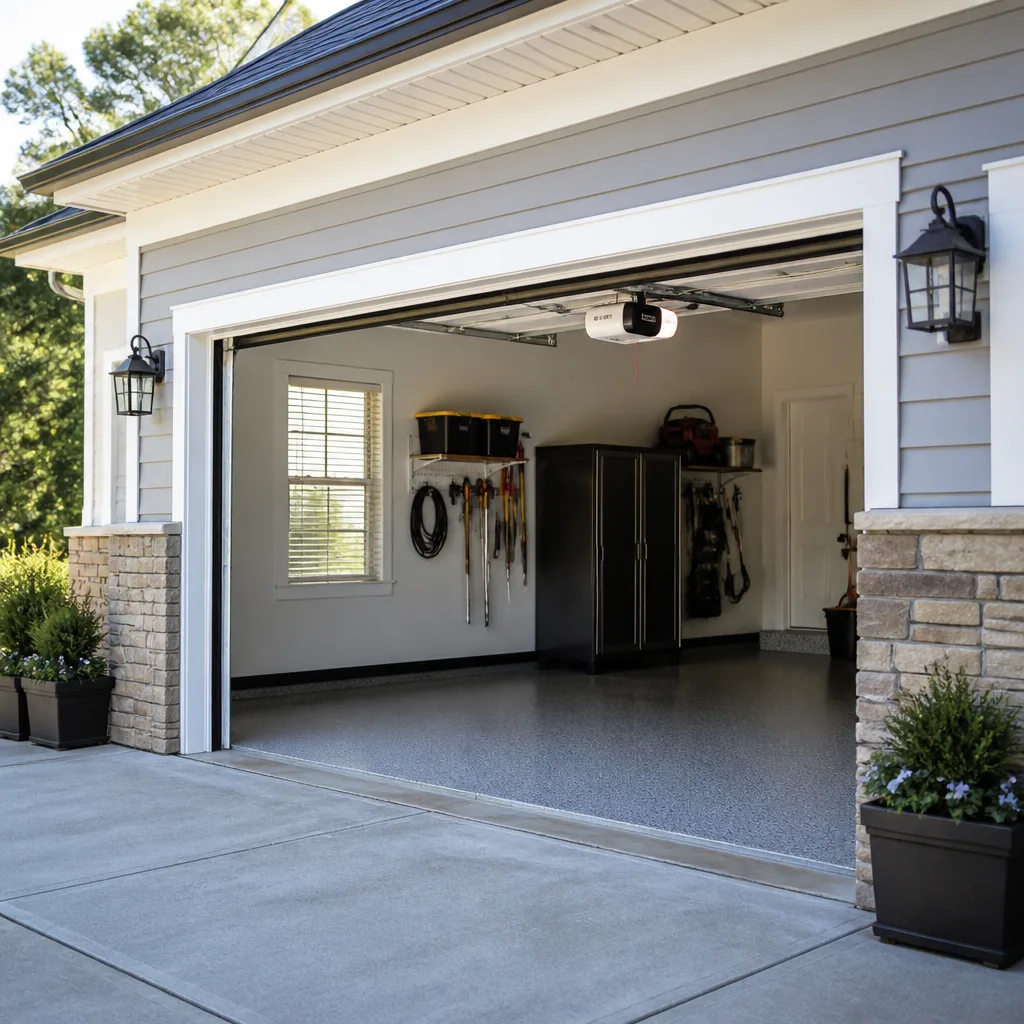 LiftMaster openers
 Chamberlain openers
Full 25-point door and opener safety check with every visit - springs, cables, rollers, tracks, and your LiftMaster or Chamberlain opener included
You get a price before we start. It does not change when the pro arrives.
Get your free estimateDIY vs Professional Garage Door: The Providence Homeowner’s Decision Guide
Most garage door work looks easier on video than it is in a Providence driveway. The real dividing line isn’t whether you’re handy. It’s whether the task involves stored mechanical energy, a tensioned system that can hurt you, or a calibration that a garage door opener needs in order to reverse correctly. Some jobs on that door are genuinely fine for a careful homeowner with a wrench and an afternoon. Others are the reason technicians wear eye protection and think twice before touching a winding cone. This guide draws that line task by task, explains what a failed attempt actually costs you, and covers the Rhode Island liability angle most DIY write-ups skip.
Quick Answer
For a Providence homeowner, the honest split is this: cleaning, lubricating, balancing a photo-eye, and replacing a remote or battery are safe DIY tasks. Torsion springs, extension springs, cables, bottom brackets, and any work under a door that isn’t blocked open belong to a trained technician, every time. Panel replacement and opener installation sit in the middle, where the question is less about danger and more about tools, warranty, and getting the travel limits right the first time.
Styles & brands we work with
- Raised-panel steel
- Carriage house
- Modern flush
- Full-view glass
- LiftMaster openers
- Chamberlain openers
Table of Contents
- The Task-by-Task Breakdown: Safe DIY vs. Professional Work
- Why Stored Energy Changes the Math
- Tools You Should Own vs. Tools Only a Pro Should Run
- The Real Cost of a Failed DIY Attempt
- Rhode Island Liability When DIY Goes Wrong Later
- How to Judge a Garage Door Tutorial Before You Trust It
- When the Answer Is Repair, and When It’s a New Door
- Opener Work: Where DIY Quietly Gets Expensive
The Task-by-Task Breakdown: Safe DIY vs. Professional Work
Here’s the split most homeowners want up front. A garage door is a system, and different parts of that system carry different risks. Some parts are user-serviceable. Others are the reason a trained technician is worth the call.
Genuinely safe for a competent homeowner:
- Wiping down and lubricating hinges, rollers, and the track with a garage-door-rated lubricant.
- Replacing the batteries in a remote or keypad.
- Cleaning the photo-eye lenses and nudging them back into alignment.
- Tightening visible hinge and bracket bolts with a socket wrench.
- Re-engaging a manual release after a power interruption, following the manufacturer’s instructions for your opener model.
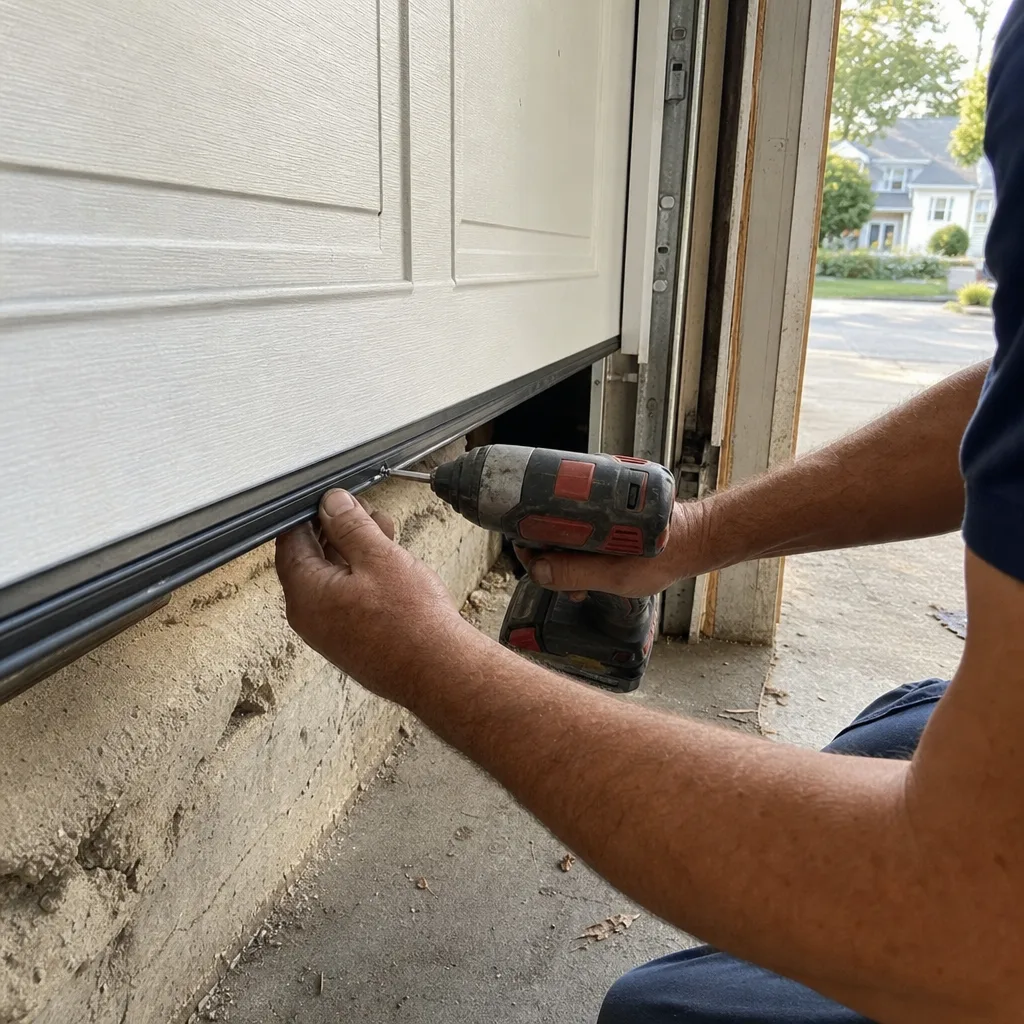
- Replacing a worn weather seal along the bottom of the door.
Requires professional tools or professional judgment:
- Balancing the door (checking whether it holds position halfway open) is a safe test, but the correction usually isn’t.
- Replacing a bent track section, which needs to be re-plumbed and re-aligned to the rest of the system.
- Adjusting opener travel limits and force settings, which must match the door’s weight and the safety reversal requirements.
Do not attempt – stored mechanical energy:
- Torsion spring replacement (the spring above the door).
- Extension spring replacement on the older side-mounted style.
- Cable replacement or re-tensioning, on either side.
- Bottom bracket and drum work, which are under tension from the cables.
The third list isn’t about skill. Those components are wound and holding force even when the door is down. A technician treats them with respect every time. If you’re in Providence and you’re looking at one of those tasks, the answer is to leave it alone.
Why Stored Energy Changes the Math
A torsion spring is a length of steel wound under load. That stored energy is what lifts the door, and it’s the reason spring work isn’t a beginner’s job. When a spring fails it can release that energy suddenly, and when someone without the right winding bars tries to remove or install one, the bar can slip. That’s the failure mode that injures people. It’s not a scare tactic; it’s how the mechanism behaves.
What this means practically for a Providence homeowner:
- A door that feels unusually heavy is a warning sign that a spring has weakened or failed. Stop using the opener and don’t try to lift it by hand as a workaround.
- A loud bang from the garage, followed by a door that won’t open, usually means a spring snapped. That’s a repair call, not a weekend project.
- A cable that has come off its drum should never be re-seated by hand. That cable is what transfers the spring’s force, and it’s live.
- The older side-mounted extension springs on some Providence garage doors carry similar risk, and the safety cables that are supposed to contain them don’t remove the danger.
The safe way to think about it: a garage door is a counterweight system, and the spring is the counterweight. You don’t want to be the person adjusting a counterweight you can’t see holding still. For a full description of what spring repair involves, see our page on garage door repair.
Tools You Should Own vs. Tools Only a Pro Should Run
The tool question is where a lot of homeowners get turned around. A well-equipped home workshop can handle routine maintenance. It can’t substitute for a set of winding bars and a trained hand on a torsion spring.
Tools worth owning for routine upkeep:
- A socket wrench set for hinge and bracket bolts.
- A garage-door-rated lubricant (not WD-40 in place of a proper lubricant for tracks and hinges).
- A soft brush and a cloth for track cleaning.
- A sturdy step ladder, rated for the height you’re working at.
- Spare batteries for remotes and keypads.
- A level for checking whether a track is plumb.
Tools that are only cost-effective for a professional running them daily:
- Winding bars. You can buy them, but buying them doesn’t make you qualified to use them safely.
- Spring tension gauges and calibration tools. The correct spring is matched to the door’s weight, and guessing is a shortcut with consequences.
- Door weight assessment equipment. For a Clopay or Chamberlain system, the spring or the opener force needs to match the door, and a technician can’t get that from a bathroom scale.
- Diagnostic tools for newer openers. A LiftMaster or Genie unit with smart features tells you what’s wrong if you have the tool that reads the signal, and a homeowner usually doesn’t.
If you’re already buying winding bars to save a service call, you’re paying for the tool without getting the training. That’s the point where the math stops working.
The Real Cost of a Failed DIY Attempt
A failed DIY attempt doesn’t just cost you the part. It costs you the diagnostic time to figure out what went wrong and how much of the original system is still usable.
Here’s the sequence most homeowners don’t account for:
- The wrong part. Springs, cables, and hinges have to match the door’s weight and model. Buying by visual match (not by measurement) frequently produces a part that fits but doesn’t work.
- The partial repair. A homeowner replaces the visible spring, but the underlying cause (a worn drum, a misaligned track) is still there. The new spring fails again in weeks, not because the part was bad, but because the system that stressed it is still out of balance.
- The diagnostic time. When the technician arrives, the first task is figuring out where the original problem started and what the “fix” did. That’s labor that wouldn’t have existed if the repair had been done once, correctly.
- The parts already bought. Not returnable. Not resalable. A sunk cost on top of the repair bill.
None of that argues against all DIY. It argues against doing the wrong tasks yourself. On a garage door, the tasks in the safe column usually stay fixed. The tasks in the dangerous column rarely do.
Rhode Island Liability When DIY Goes Wrong Later
Rhode Island’s premises liability rules are straightforward on paper. A property owner is responsible for the condition of their property and for dangers it presents to others. When a garage door is a DIY repair, that responsibility doesn’t go away because the work was done at home.
What this means in practice:
- If a door you worked on fails and damages a neighbor’s vehicle or property, the repair history and condition of the door become part of the picture.
- If someone is injured by a faulty door or a failed opener safety reversal, the question of who did the work matters.
- Some homeowners’ insurance policies carry language about work performed by the homeowner, and it’s worth reading before deciding what to handle yourself. We’re not attorneys, and we don’t give legal advice; we’re pointing out that a DIY decision is also an insurance decision.
- For a door on a rental property or an HOA-governed home, the rules may go further than a single-family owner’s would.
The counterpoint is fair: plenty of routine maintenance, correctly done, carries no more risk than changing a light bulb. The question is whether you’re doing maintenance or structural repair. A photo-eye you cleaned is maintenance. A spring you replaced is structural work on a tensioned system, and it’s the kind of repair that can matter long after the wrench is put away.
How to Judge a Garage Door Tutorial Before You Trust It
Online garage door videos split into two categories: those that teach a proper procedure and those that teach a shortcut that works once. The shortcut videos are more common than you’d think, and the damage shows up later.
Use these signals:
- The video shows the tool by name. A tutorial that calls for winding bars and shows them being used is teaching the right method. One that substitutes a screwdriver, a pry bar, or “a friend’s help” is teaching a shortcut.
- It fits the safety instructions the manufacturer publishes. LiftMaster, Chamberlain, and Genie each publish their own opener manuals, and the manual is always the ground truth. A video that contradicts it is wrong.
- It doesn’t skip the door’s weight check. A spring replacement video that doesn’t measure the door and match the spring to it is not a repair guide. It’s a part-swap.
- It doesn’t tell you the fix will “last for years.” Neither the video nor we can promise that. A proper repair is a judgment about the specific system.
- It tells you to block the door open. Any tutorial that doesn’t mention blocking the door under a tensioned system is missing a safety step.
- It matches your model. A tutorial for a different style of torsion system can look similar and behave differently. The Clopay vs. Chamberlain comparison works differently on this point: it’s the door setup, not the brand, that decides the approach.
The tutorials that hold up share one quality: they’re specific about the risks and honest about what they can’t teach. If a video is selling you a shortcut, the shortcut is the product.
When the Answer Is Repair, and When It’s a New Door
The DIY-vs-professional question changes once you realize the door has reached the end of its useful life. At that point, doing it yourself doesn’t save money; it just means you’re redoing the work you already paid to have done.
Signs a repair is the right answer:
- One panel or section is damaged, and the rest of the door is sound.
- The opener has failed but the door itself moves freely on manual release.
- A single spring failed on a door under the weight where the rest of the system is holding well.
- The track has a local bend, but the rest of the door is aligned.
Signs the door is a replacement candidate:
- Multiple panels are rusted through or compromised, or the door has been damaged in more than one place.
- The door is a model where parts, including springs and cables, are no longer manufactured.
- Repeated repairs on the same component within a short window – a sign the underlying system is out of balance or worn past the point of a fix.
- The door no longer meets the opener’s requirements for weight or safety reversal, and matching parts are unavailable.
In Providence, a lot of older homes have doors that are still structurally fine but are working with openers from another era. That’s usually the moment to think about the system as a whole, not just the door or the opener alone. For replacements, we install Clopay, Amarr, Wayne Dalton, and Raynor doors, which covers most of what’s on the market.
Opener Work: Where DIY Quietly Gets Expensive
A garage door opener looks like a self-contained box you can swap. It isn’t. The opener and the door are a matched pair, and a new opener installed without matching travel limits and force settings to the door is a safety problem, not just an inconvenience.
What a proper opener service involves:
- Assessing the existing door. An opener rated for a lighter door will struggle on a heavier one, and the door will fail sooner.
- Matching the opener to the drive type. Belt, chain, and screw drives are not interchangeable for every door. A LiftMaster or Chamberlain smart-opener platform has to be compatible with your door’s weight and travel.
- Setting the travel limits and force sensitivity. This is the step that determines whether the door reverses correctly when it meets resistance. It has to be calibrated to the specific door, not copied from another install.
- Testing the safety reversal. The opener is required to reverse on obstruction. If it doesn’t, that’s a safety failure, not a setting preference.
- Testing the manual release. Every opener needs a working manual release, and it needs to be tested after installation, not just before.
If any of that sounds like it’s more than a swap, that’s the point. Opener work is one of the areas where the Professional column earns its place, and it’s the reason our garage door opener repair service is a separate scope. A Genie with a sensor problem is a very different fix from a LiftMaster with a travel-limit problem, and knowing which is which up front is what saves you a second visit.
Common Mistakes to Avoid
- Removing a torsion spring with the door down. The spring is under load even when the door is closed. A proper repair starts with the door blocked open and the spring relaxed, and that isn’t a step you figure out halfway through.
- Using a screwdriver as a winding bar. The tool is cheap, and the wrong tool is how people get hurt. This is the most common shortcut in garage door tutorials, and it’s the one to walk away from.
- Buying a spring by eye. Springs are matched to the door’s weight, the size of the door, and the track setup. A part that fits the bracket but not the door may survive a week.
- Adjusting the opener’s force setting to get around a heavier door. Raising the force to force the door to move is how you mask a spring problem. The door lifts, but the failure mode is now the opener rather than the spring.
- Skipping the safety reversal test after every repair. Even a repair that seems unrelated to the opener can change the door’s travel. Test it before you use the door, not after.
- Forgetting that the door is a system. A new spring on a worn track, or a new opener on a door that’s out of balance, is a repair that doesn’t hold. Check the whole system, not just the part that failed.
- Not blocking the door open before work. On any tensioned system, the door should be blocked against closing. That step is one line in a manual and one of the most common omissions in a home repair.
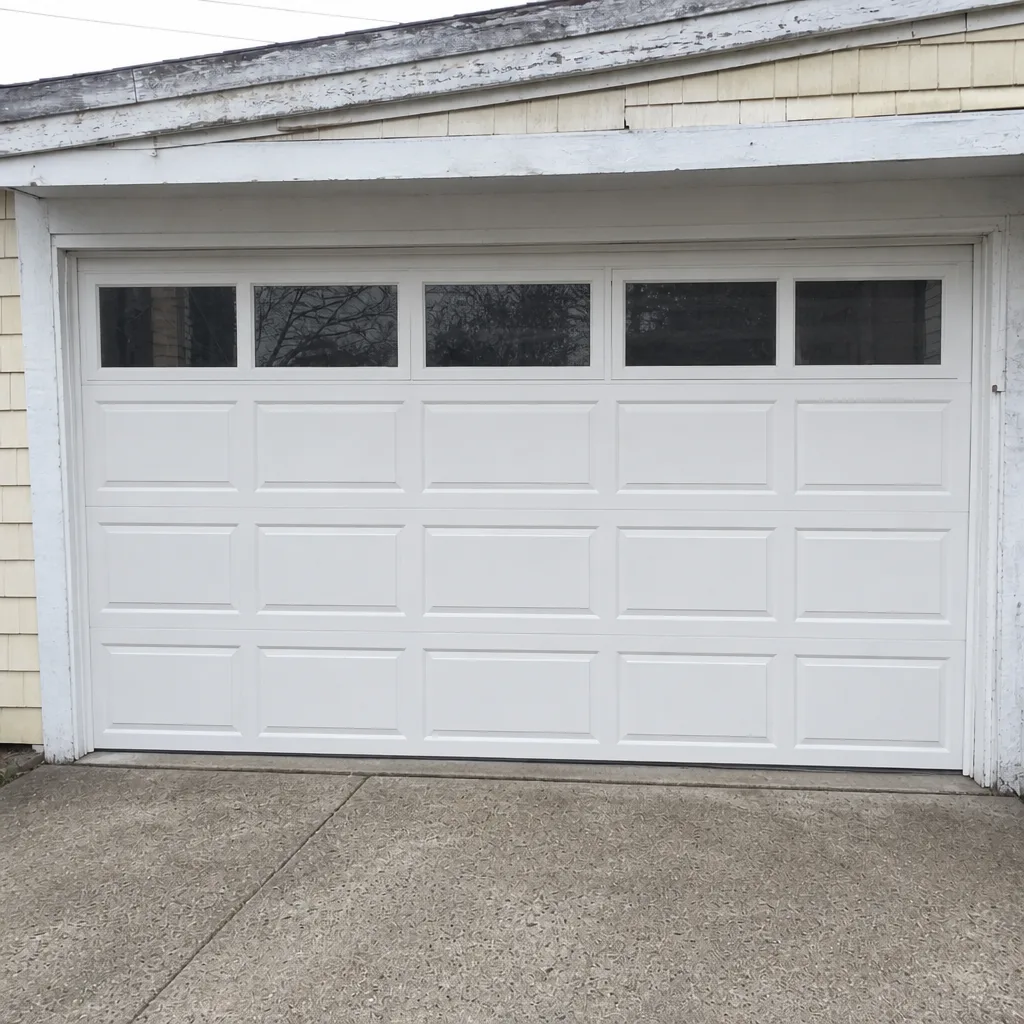
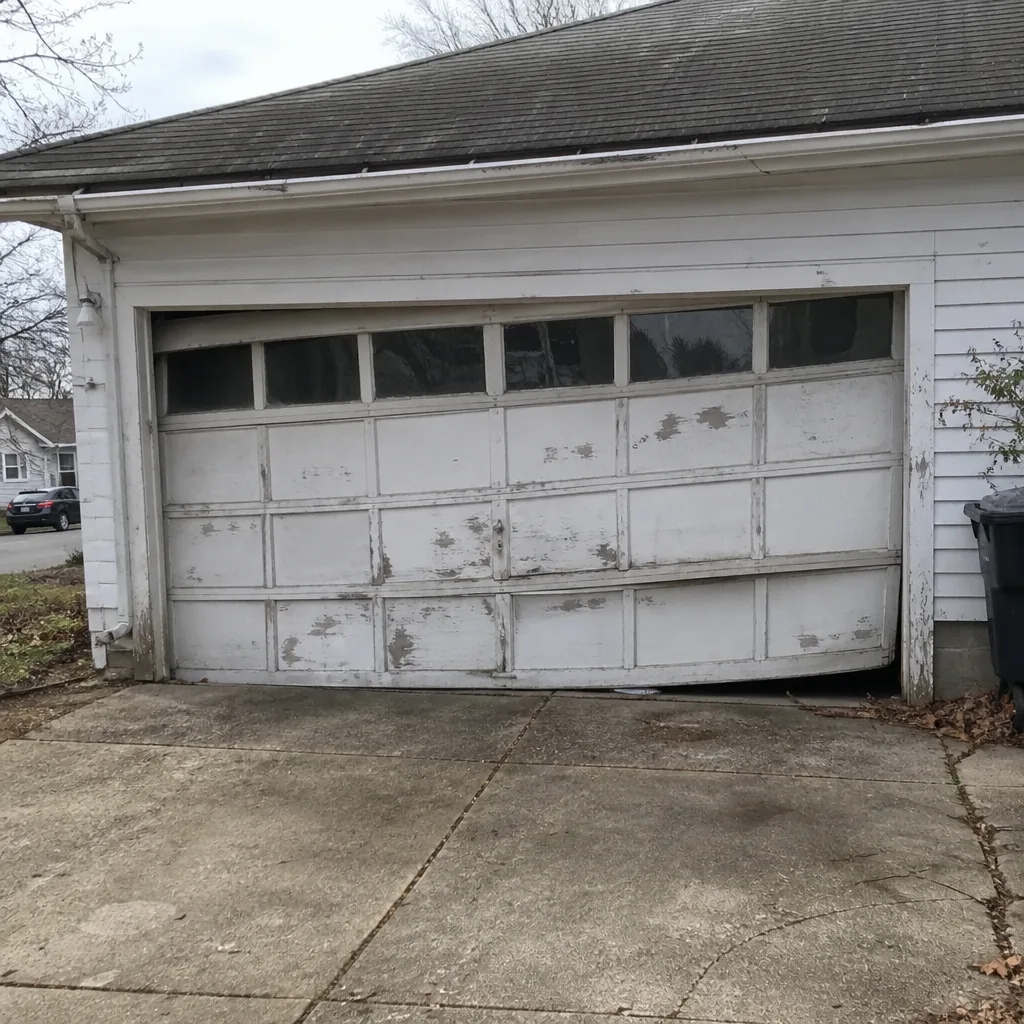
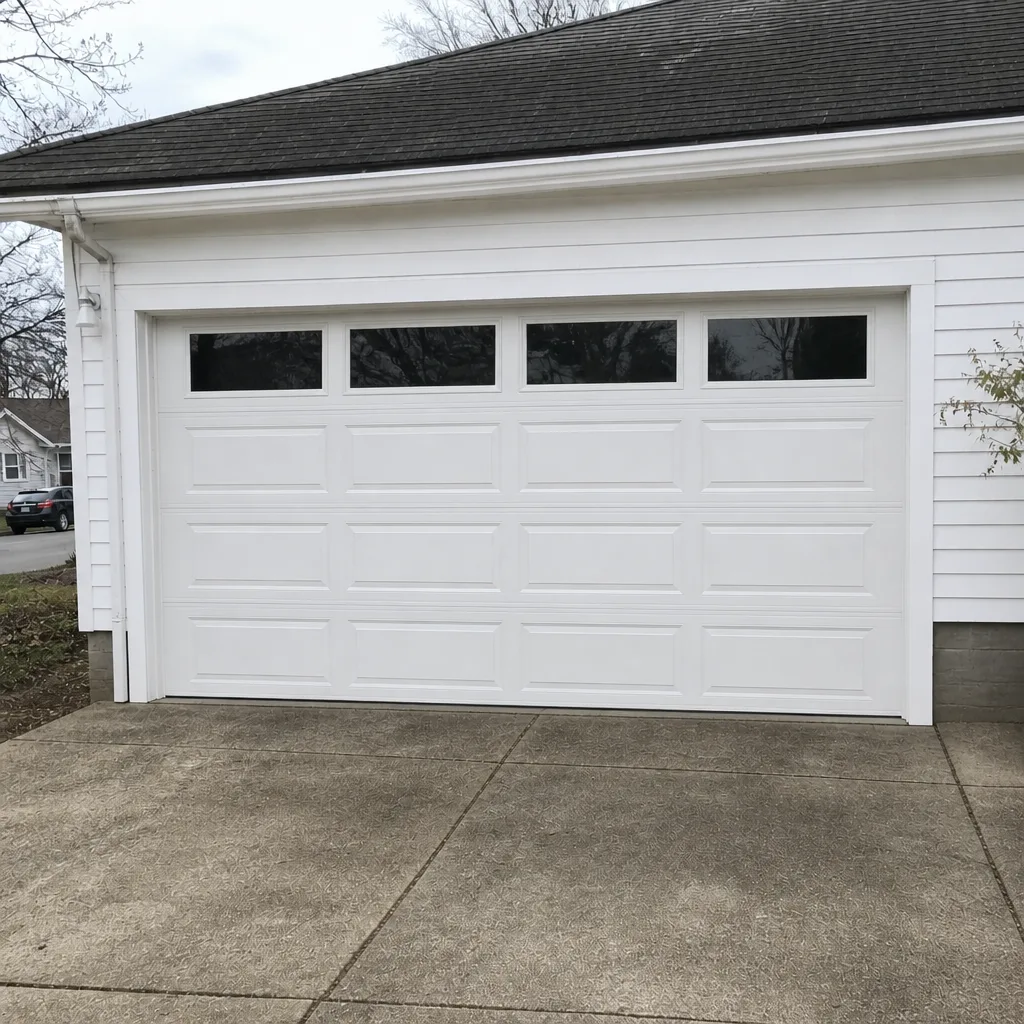
See the difference
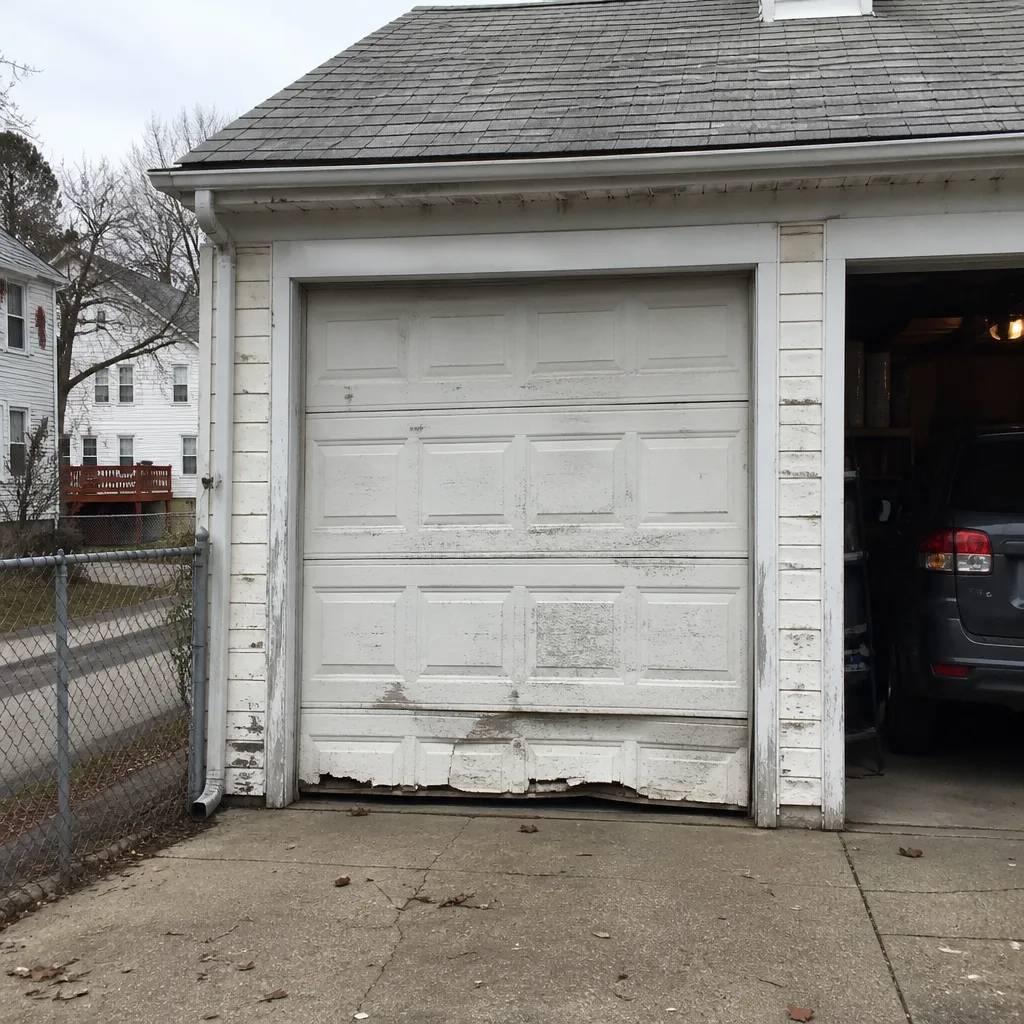 Before
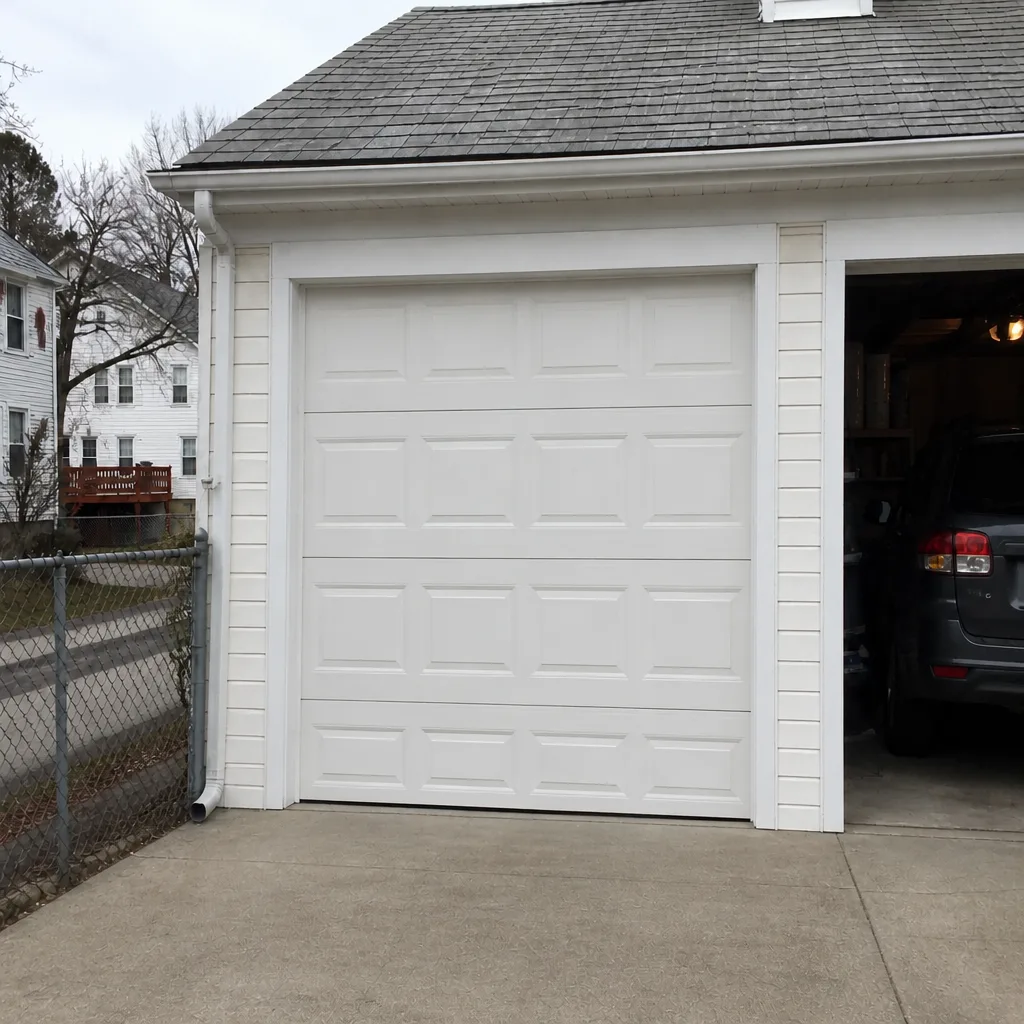 After
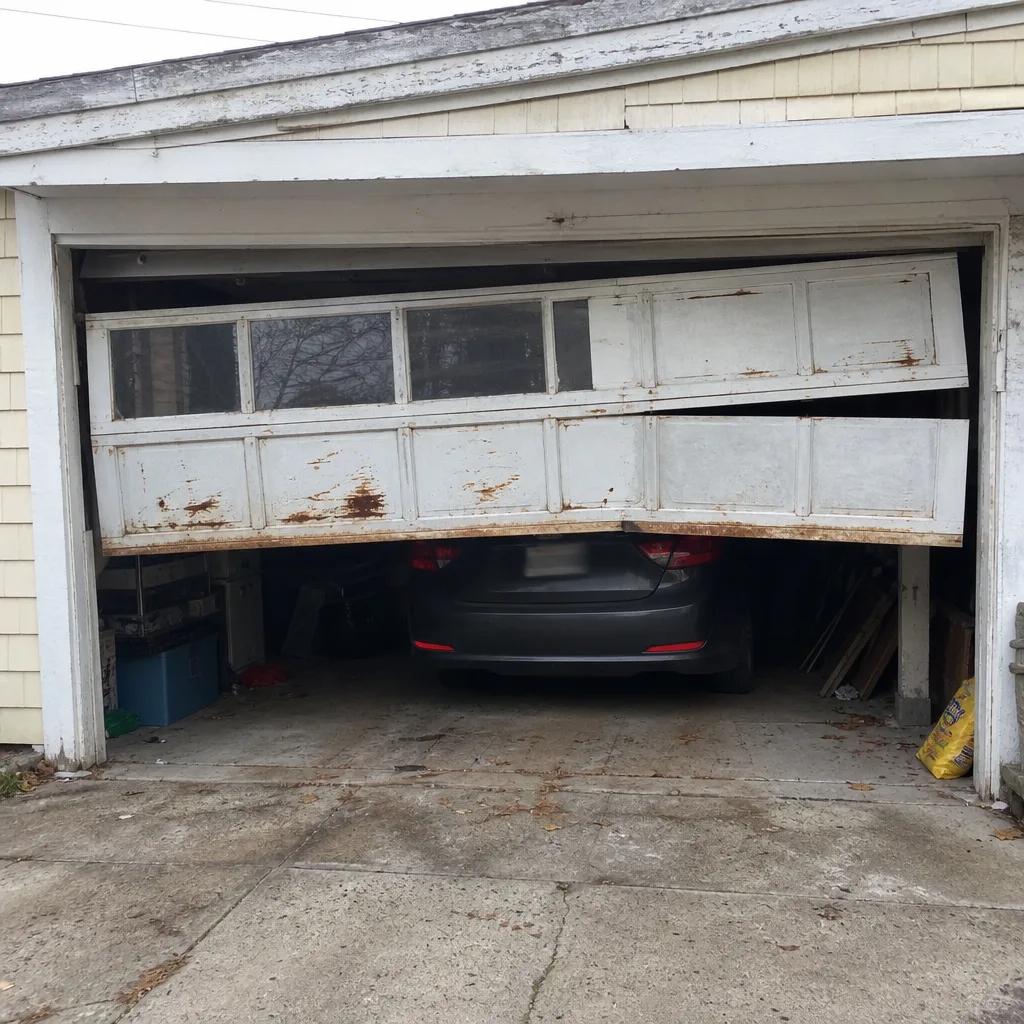 Before
 After
 Before
 After
When to Call a Professional
Call a professional when the job involves a torsion spring, an extension spring, a cable, a bottom bracket, or a drum. Call when the door feels unusually heavy, when the opener reverses without an obstruction, when a cable has come off, or when the door has fallen off the track. Call when the opener needs travel-limit or force-setting changes, or when a lift motor has failed entirely. And call when you’re not sure which column a task belongs to, because that’s the moment the deciding factor should be a technician’s judgment rather than a video. Eastwood Garage Door Service offers free estimates in Providence.
Our technicians have up to 11 years of experience, and we work on what you already have: LiftMaster, Chamberlain, Genie, and Craftsman openers, plus Clopay, Amarr, Wayne Dalton, and Raynor doors. Call (855) 613-2822. We answer 24/7. Fast dispatch from 7am to 7pm, Sunday through Friday.
Frequently Asked Questions
No, we don’t recommend it. Torsion and extension springs are under tension and store more energy than most homeowners expect. Spring replacement requires matched parts, the right winding bars, and a reason to know what the system is doing at every step. Call (855) 613-2822 for a free estimate.
The price depends on what failed and which part of the system is involved, so the estimate is per job. We quote and agree on the price before any work starts. Call (855) 613-2822 for a free estimate.
Yes, several. Lubricating hinges and rollers, cleaning and aligning the photo-eye lenses, replacing remote batteries, tightening visible bolts, and a few similar upkeep tasks are well within a careful homeowner’s reach. The safe list is maintenance, not repair.
The part you bought is usually not returnable, and the next technician has to diagnose both the original problem and what the attempt changed. That extra diagnostic time is the hidden cost of a failed repair. Call (855) 613-2822 for a free estimate.
That depends on your policy, and we’re not the right people to interpret it – an insurance agent can tell you. The general point is that work performed by the homeowner can be treated differently from work done by a professional, and it’s worth knowing which side of that line you’re on before you start.
Yes. The door, the springs, the cables, and the opener are one system, and they’re handled together rather than passed between specialists. That matters on a repair where the failure started on one component and shows up on another. Call (855) 613-2822 for a free estimate.
The Bottom Line
The DIY question for a garage door isn’t really about whether you’re handy. It’s about which tasks sit behind stored mechanical energy and which don’t. Maintenance – lubricant, photo-eye alignment, battery swaps, a weather seal – is fine to take on yourself. Springs, cables, brackets, and drums belong to a trained technician, and the reason is the mechanism, not the skill gap. Opener work sits in between, where the real issue is calibration and the safety reversal. If you’re anywhere near that middle, the cost of a call is smaller than the cost of getting it wrong twice.
If you’re looking at a task that’s on the wrong side of the line, we can help. Eastwood Garage Door Service works on the brands that are already in Providence garages, quotes the price before the work starts, and doesn’t need a second visit to finish the job. Call (855) 613-2822 for a free estimate. We answer 24/7. Fast dispatch from 7am to 7pm, Sunday through Friday. You can read more about Providence service and what we cover on our Eastwood Garage Door Service page.
Written by the team at Eastwood Garage Door Service.