
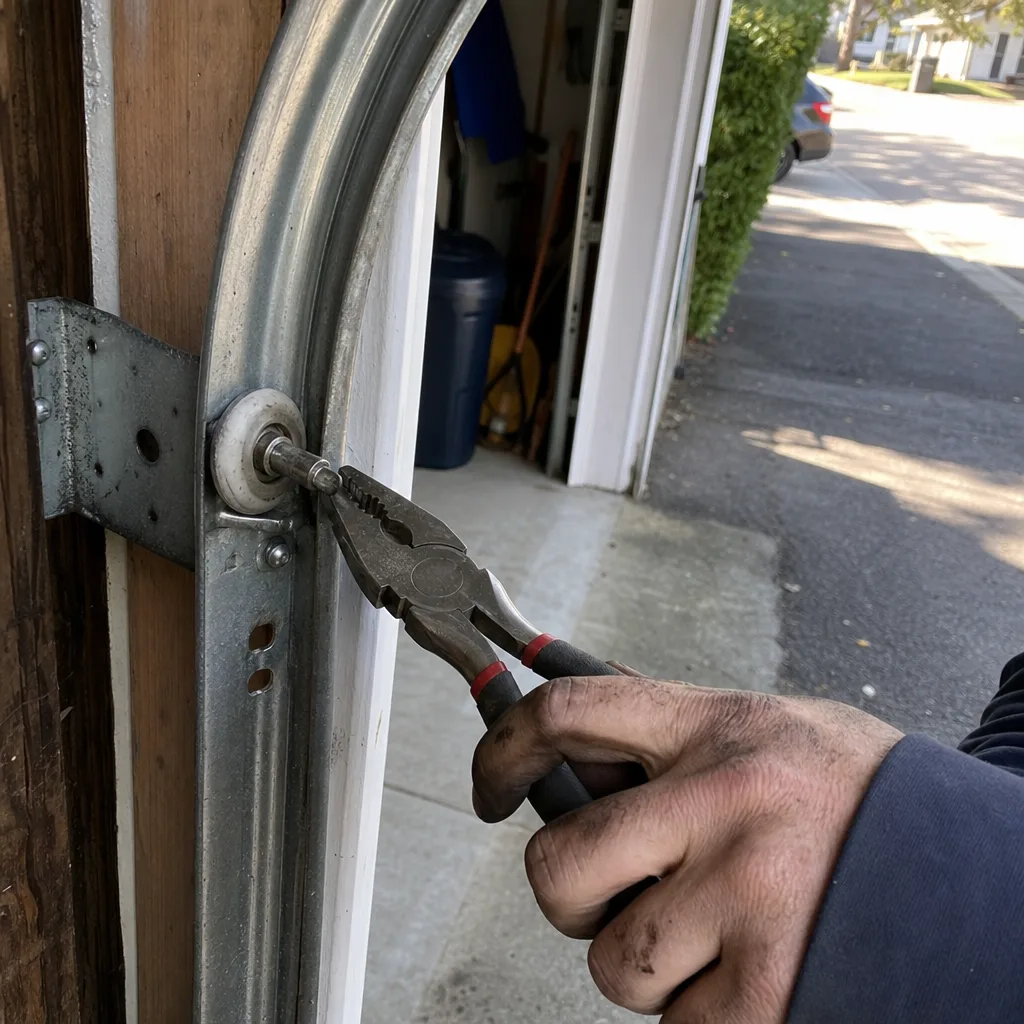
Last updated November 15, 2026
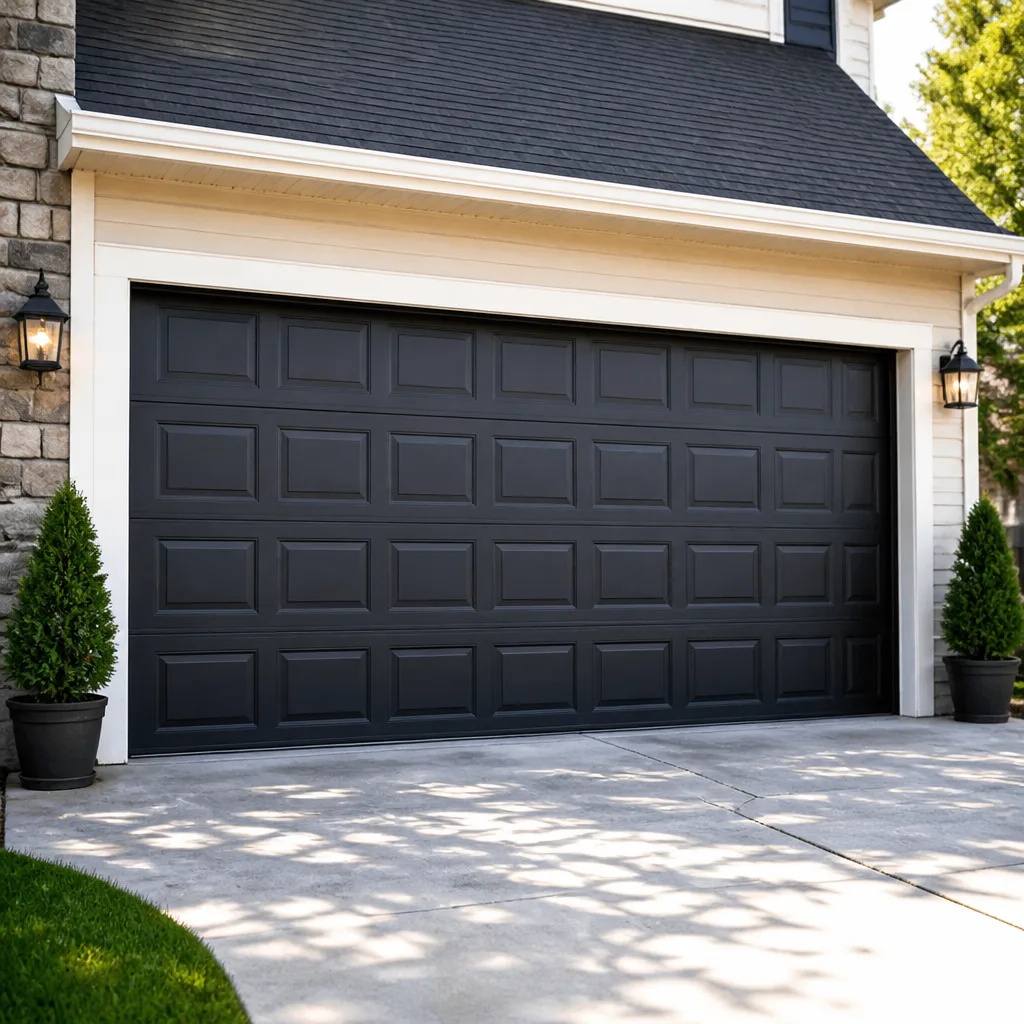 Raised-panel steel
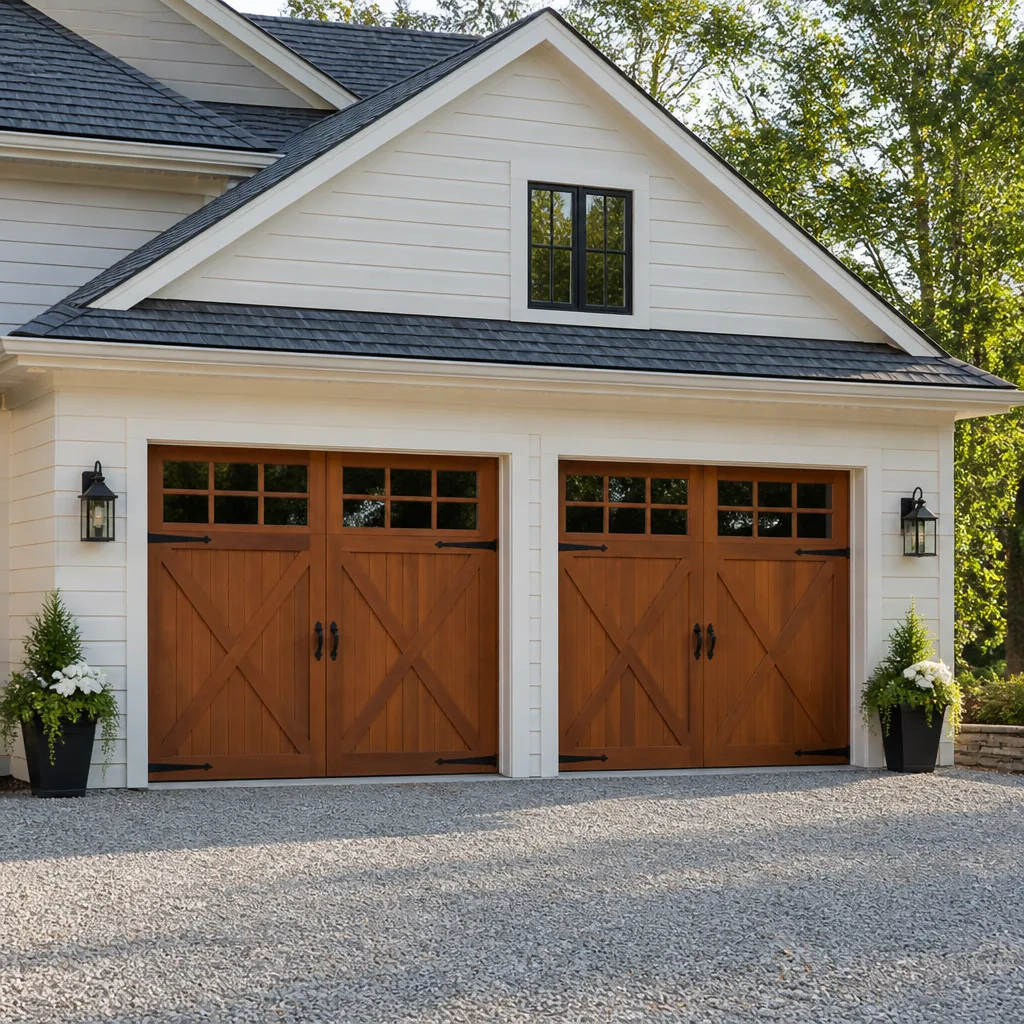 Carriage house
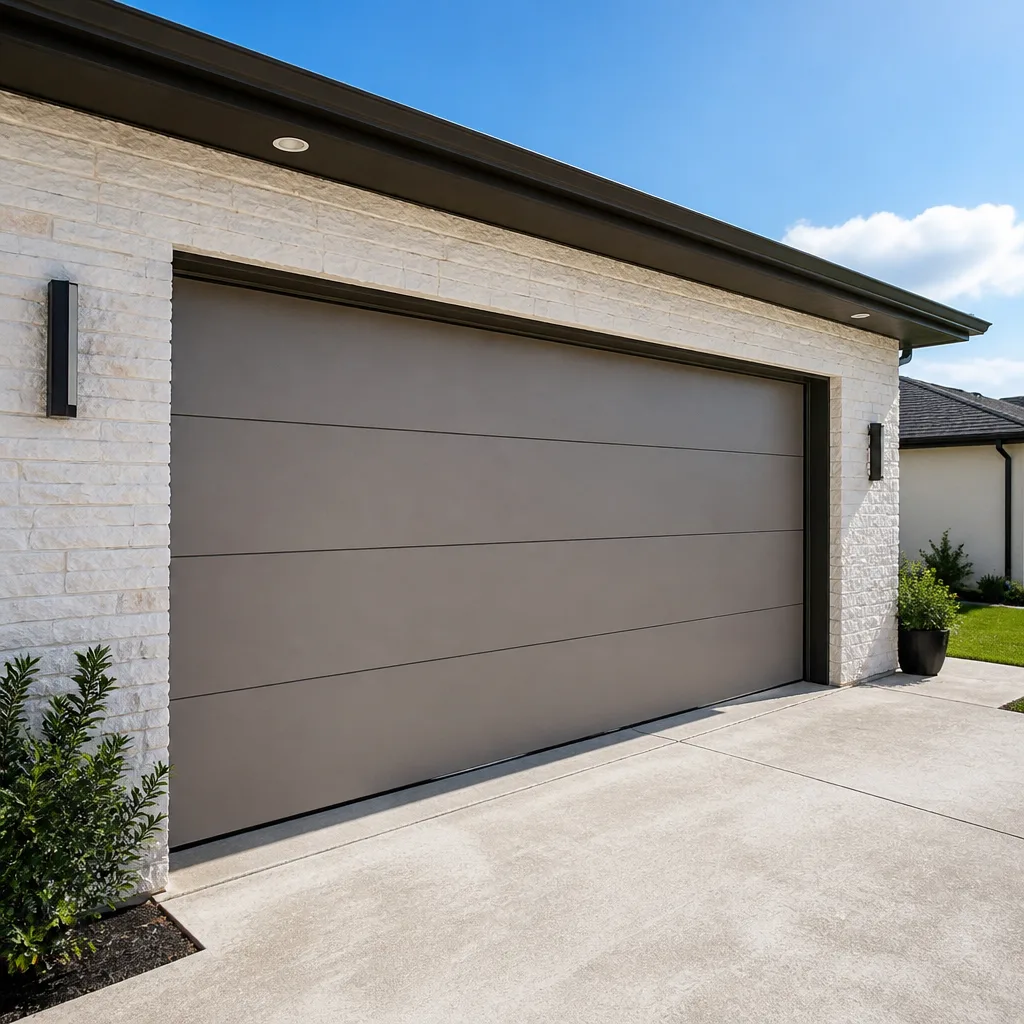 Modern flush
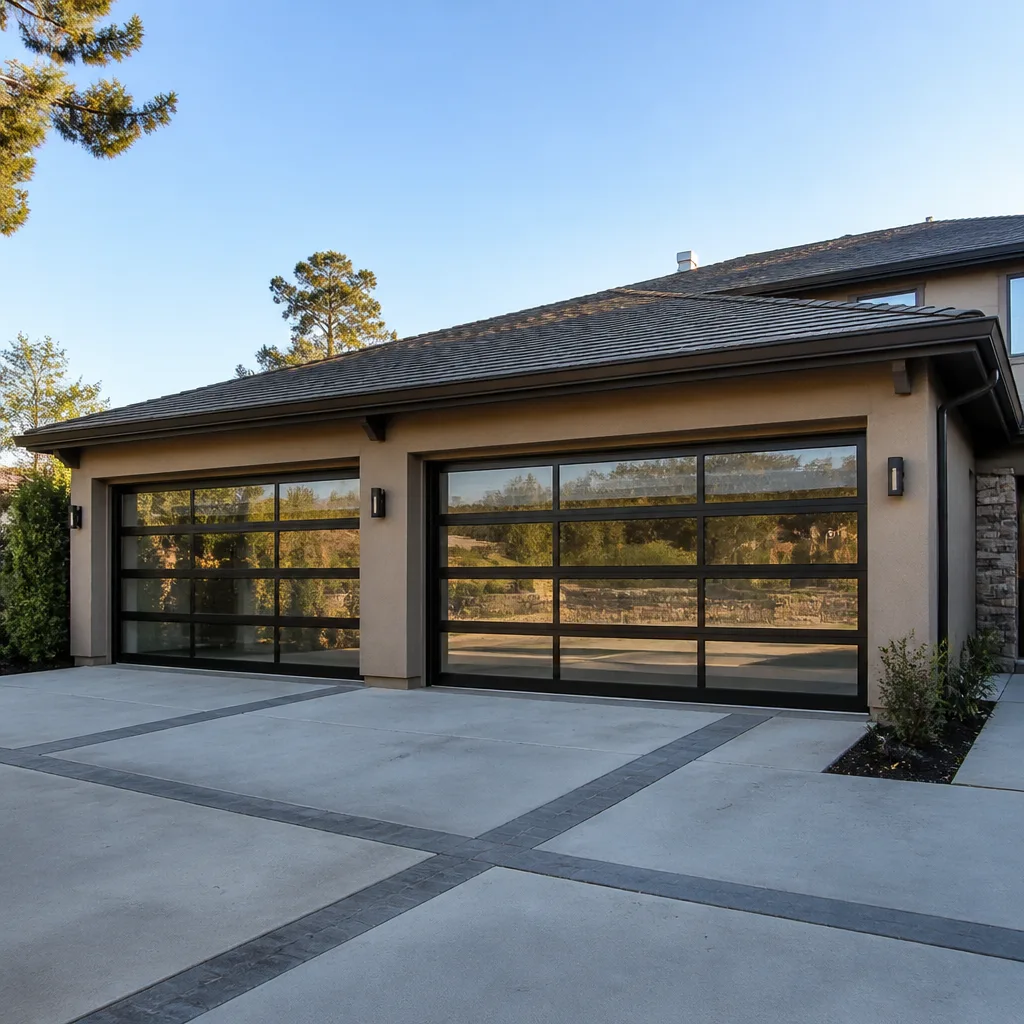 Full-view glass
 LiftMaster openers
 Chamberlain openers
Full 25-point door and opener safety check with every visit - springs, cables, rollers, tracks, and your LiftMaster or Chamberlain opener included
You get a price before we start. It does not change when the pro arrives.
Get your free estimateGarage Door Repair Troubleshooting in Providence: Common Problems and How to Fix Them
The door that “just stopped working” almost never just stopped. It gave you three warnings you didn’t know to notice. A rattle that showed up in November. A slight hesitation near the top of travel. A bottom seal that stuck to the concrete one cold morning and let go with a sound you shrugged off. Garage doors fail in sequence, not at random, and matching the symptom you’re seeing to the part that’s actually failing is the difference between a small adjustment and a repair that should have cost a fraction of what a misdiagnosis runs. This guide is written for Providence homeowners who want to read their door the way a technician does: what each noise means, which checks are safe to do yourself, and when to stop touching it. Our technicians have up to 11 years of experience, and we’ve walked through this diagnostic logic thousands of times on doors across Providence.
Quick Answer
Most garage door problems trace back to one of five causes: worn or broken springs, misaligned or bent tracks, a stretched or snapped cable, failed safety sensors, or a worn drive gear inside the opener. You can safely check sensors, balance, and track alignment yourself. Springs and cables under tension are the two components you should never touch – a torsion spring holds enough stored energy to cause serious injury, so that work belongs to a trained technician. In Providence, the freeze-thaw cycle from late fall through early spring accelerates spring fatigue and bottom-seal problems, which is why certain failures cluster in the colder months here.
Styles & brands we work with
- Raised-panel steel
- Carriage house
- Modern flush
- Full-view glass
- LiftMaster openers
- Chamberlain openers
Table of Contents
- What Your Door’s Sounds Are Telling You
- The Symptom-First Diagnostic Tree
- Opener vs. Door: How to Tell in Two Minutes
- Why Providence’s Freeze-Thaw Cycle Changes the Failure Pattern
- The Works-Once-Fails-Next-Time Problem
- Safe DIY Checks vs. Stop-Now Repairs
- One-Sided Drop and Uneven Travel
- When to Call a Professional
What Your Door’s Sounds Are Telling You
A garage door is a mechanical system with predictable wear points, and each wear point fails with its own signature sound. Learning to separate them shortens the diagnostic process and keeps you from replacing a part that isn’t the problem. Here’s what the most common noises usually point to:
- Grinding, high-pitched, continuous: Almost always the rollers or the hinges. Rollers running dry or worn flat against the track create a metal-on-metal grind. Lubrication or roller replacement usually resolves it before the track itself wears.
- Loud popping or a bang from above the door: This is the sound of a torsion spring breaking. It’s a single sharp report, not a repeated noise. Once you hear it, stop operating the door – the spring is what counterbalances the door’s weight, and running the opener without it strains the entire system.
- Scraping along one side: A track out of alignment, or a roller that’s jumped the track. The door is dragging against metal it shouldn’t touch. Running it in this state bends panels and widens the misalignment.
- Rattling that’s worse when the door is moving: Loose hinge bolts, a loose panel, or a worn opener chain. Tightening hardware usually resolves the first two; the third needs the opener checked.
- Clicking, then nothing: Not a door problem at all – that’s the opener’s logic board or a failed capacitor. More below.
The mistake most homeowners make is treating every noise as urgent or treating none of them as urgent. A grind that’s been there for weeks is a wear issue. A single pop followed by a door that sags or won’t lift is a stop-now event. If you’re not sure which category you’re in, garage door repair professionals can usually identify it in a few minutes of inspection.
The Symptom-First Diagnostic Tree
Rather than starting with the part, start with the behavior. Work through these checks in order – each one rules out a category before you spend time on the wrong component.
- Does the opener run but the door stays put? Listen at the opener unit while it cycles. If the motor hums or the chain/screw moves but the door doesn’t, the disconnect is between the opener and the door. Causes in order of likelihood: the manual release has been pulled and left disengaged, the trolley is stripped, or the drive gear inside the opener is worn.
- Does the door move a few inches and reverse? This is the safety reverse system doing its job. Either something is blocking the safety sensor beam, or the door is binding somewhere in its travel and the opener is interpreting the resistance as an obstacle. Check the sensors first – it’s a 30-second check.
- Does the door drop or sag on one side? A broken spring on one side of a two-spring setup, or a snapped cable. Stop here and call a technician. Both of these are load-bearing and dangerous to touch.
- Does the door bind partway up? Look at both vertical tracks from floor level. A visible bend, a roller popped out of the channel, or a track that’s pulled away from the jamb frame all cause binding. Track adjustment is a professional job; don’t try to force a bent track straight.
- Does the door not respond to the remote at all? Before assuming an opener failure, check the wall button. If the wall button works and the remote doesn’t, it’s a remote or receiver problem, not an opener problem. If neither works, the opener has lost power or its logic board has failed.
That sequence takes under two minutes and eliminates about 70% of the guesswork. If you get through it and you’re still not sure, the problem is likely in the springs or the opener’s internal components, which are both cases for a technician.
Opener vs. Door: How to Tell in Two Minutes
The single most common diagnostic error we see is homeowners spending an hour troubleshooting the wrong half of the system. The door body (panels, tracks, rollers, springs, cables, hinges) and the opener unit (motor, logic board, drive mechanism, safety sensors) are two separate systems that interact. Figuring out which one is failing saves you from buying a new opener when you needed a $12 hinge.
Here’s the fast test:
- Pull the manual release. Every opener has one – usually a red cord hanging from the trolley. Pull it to disconnect the door from the opener, then lift the door by hand. If it lifts smoothly and stays up around waist height, the door body is healthy and the problem is in the opener. If it’s heavy, binds, or won’t stay up, the door body is the problem and no amount of opener troubleshooting will fix it.
- Check the sensors. With the door disconnected, press the wall button. If the opener’s light flashes and the door does nothing, the safety sensors are misaligned or the lens is dirty. Wipe the lenses and check that both indicator lights are solid, not blinking.
- Listen for the hum. If the opener hums for a second and stops, the motor is running but something inside is failing – usually the drive gear. Common on LiftMaster and Chamberlain units that have been in service for a while; Genie units have their own gear wear patterns. This is an opener repair, not a door repair.
The reverse test also works: if the door runs smoothly by hand but the opener won’t move it, and the sensors are clean and aligned, the opener is the problem. If the door feels heavy or fights you at any point, stop pulling and treat the door body as the failing system. Our garage door opener repair work in Providence routinely starts with exactly this test.
Why Providence’s Freeze-Thaw Cycle Changes the Failure Pattern
National troubleshooting guides are written for a climate that doesn’t exist here. Providence runs through repeated freeze-thaw cycles from late fall into early spring – the ground freezes overnight, softens during the day, then freezes again. That cycle affects a garage door system in ways warmer-climate guides simply don’t address.
The two most common freeze-thaw-driven failures:
- Bottom seal freeze. The rubber seal at the bottom of the door can freeze to the driveway or garage slab. When the opener lifts the door, the seal tears away from the door’s bottom edge, or the opener strains against the bond and trips its force limit. If you notice your door failing to lift cleanly on cold mornings and lifting fine once it warms up, the seal is sticking. It’s worth inspecting the seal before the deep freeze sets in – a seal already cracking on the bottom edge will get worse fast.
- Spring metal fatigue. Torsion springs are made of tempered steel, and that steel is rated for a specific number of cycles – a full open and close counts as one cycle. Cold temperatures make the metal more brittle, which means a spring already near the end of its cycle count is more likely to break in winter than in summer. This is why spring failures in Providence cluster in January and February. It’s not random – it’s the metal telling you it’s done.
One less obvious effect: the freeze-thaw cycle moves the ground under the driveway and garage slab, and that movement can shift track mounting brackets slightly over a season. A door that tracked perfectly in October can be off by a quarter inch by February. If your door is scraping or grinding only in cold weather, track alignment is the first thing to check.
The Works-Once-Fails-Next-Time Problem
Intermittent failures are always more serious than complete failures. This runs against intuition – a door that’s completely dead seems more alarming than a door that works nine times out of ten. But a completely dead door has a definite, findable cause. An intermittent one has a component that’s failing under specific conditions: a loose electrical connection that separates with vibration, a logic board with a failing capacitor that works cold and fails warm, a sensor that only misreads when the sun hits it at a certain angle, or a track that only binds at one point in travel.
Intermittent garage door failures usually trace to one of four causes:
- A marginal safety sensor. The sensor’s infrared beam is weak because the lens is scuffed or the aiming is slightly off. It works when the door is in one position and fails when it’s in another. A little vibration moves it. The fix is alignment and cleaning.
- A failing opener logic board or capacitor. The opener’s capacitor stores the charge that starts the motor. A worn capacitor works when it’s warm and fails when it’s cold, which shows up as a door that won’t open in the morning but works fine in the afternoon. Classic intermittent opener symptom.
- A loose wire at a terminal. Vibration loosens the connection. It makes contact most of the time and breaks contact when the opener runs. The fix is a screwdriver and a careful inspection of every terminal at the opener head and the wall button.
- A partially stripped drive gear. The gear teeth are worn on one side of their rotation. The opener drives the door through most of the travel and slips at the worn spot. You’ll hear a brief grind or clunk when it happens.
Don’t wait on an intermittent failure. A door that fails occasionally will eventually fail completely, and the underlying cause will be no easier to find for the waiting. If a technician comes out while it’s still intermittent, they can usually trace the fault in one visit. If you wait until it’s dead, the diagnosis is a process of elimination.
Safe DIY Checks vs. Stop-Now Repairs
We’re often asked what a homeowner can reasonably check without calling anyone. There’s a clear line, and crossing it is where injuries happen. Here’s where that line sits:
Safe to check yourself
- Safety sensor alignment. Look at the indicator lights on both sensors. If one is blinking, the beam is broken or misaligned. Wipe the lenses. Aim them toward each other by hand. This is a two-minute job and doesn’t involve touching any tensioned component.
- Balance test. Disconnect the door with the manual release. Lift the door by hand to the halfway point and let go. A properly balanced door holds that position. A door that drops means a spring or cable is failing – at which point you stop and call a technician.
- Visual spring inspection. Look at the torsion spring above the door or the extension springs along the horizontal tracks. A broken spring is usually obvious – a visible gap in the coil. If you see a gap, don’t run the door. This is purely visual; don’t touch or try to turn anything.
- Limit switch adjustment on the opener. Most openers have force and travel limit adjustments on the opener head. Adjusting these is safe as long as you’re not touching the door itself. Check your opener’s manual rather than guessing at which screw does what.
- Remote and wall button check. Basics: fresh batteries, reprogramming the remote, cleaning the remote’s contacts. All safe.
Stop and call a technician
- Torsion spring removal or replacement. A torsion spring is wound to a specific tension and holds enough stored energy to cause serious injury if released incorrectly. Never attempt this. There are no safe shortcuts.
- Cable replacement. Cables are under tension too and are the second most dangerous component in the system. A slipping or snapped cable can snap back with force.
- Bent track straightening. Looks simple. It isn’t. A bent track is bent because the door has been misaligned for a while, or because the track has been pulled from the jamb. Straightening it without correcting the underlying cause means it bends again.
- Replacing hinges or rollers on a door that’s on the track. This is safe only when the door is disconnected and fully down. If you’re not sure how to disconnect, don’t touch the hardware.
One-Sided Drop and Uneven Travel
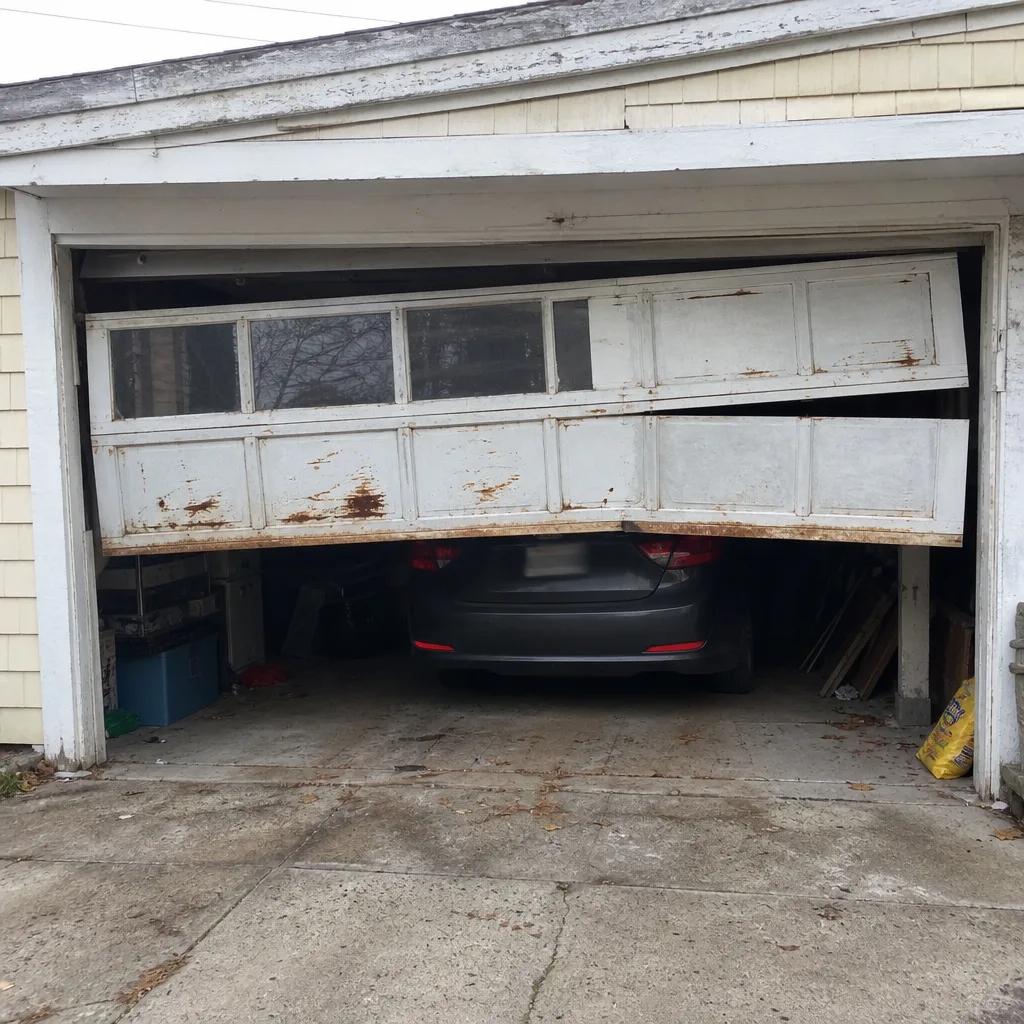
A door that’s lower on one side than the other, or that tilts as it rises, is telling you exactly what’s wrong. On a two-spring torsion setup, one spring has lost tension or broken, and the door is being lifted by one spring instead of two. On an extension-spring setup, one of the springs has stretched or snapped.
If you see the door drop on one side, stop using it. Running the opener on a door with a broken spring strains the opener motor and can bend the horizontal tracks on the good side. It also can also let the door come down on someone underneath. This isn’t a case where the door will hold together for a while – the failure sequence is one or two cycles.
Uneven travel without a drop is more often a cable issue. A stretched or marginally attached cable lets one side lift faster than the other. Cables are under tension, so even the diagnosis belongs to a technician. If you’re unsure which component is causing the imbalance, don’t guess – have it looked at. We handle Eastwood Garage Door Service work across every system type, from Raynor doors with extension springs to LiftMaster and Chamberlain premium openers, and the diagnosis follows the same logic on every one.
See the difference
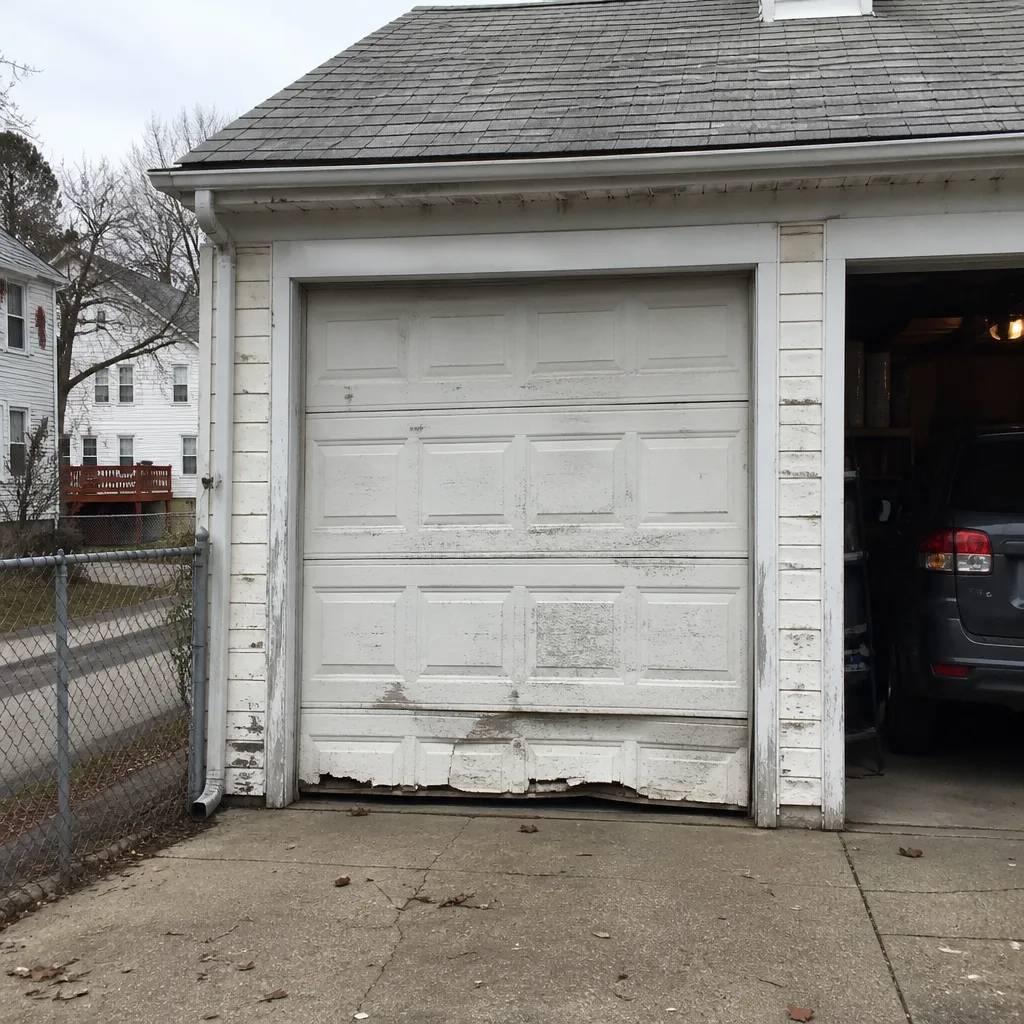 Before
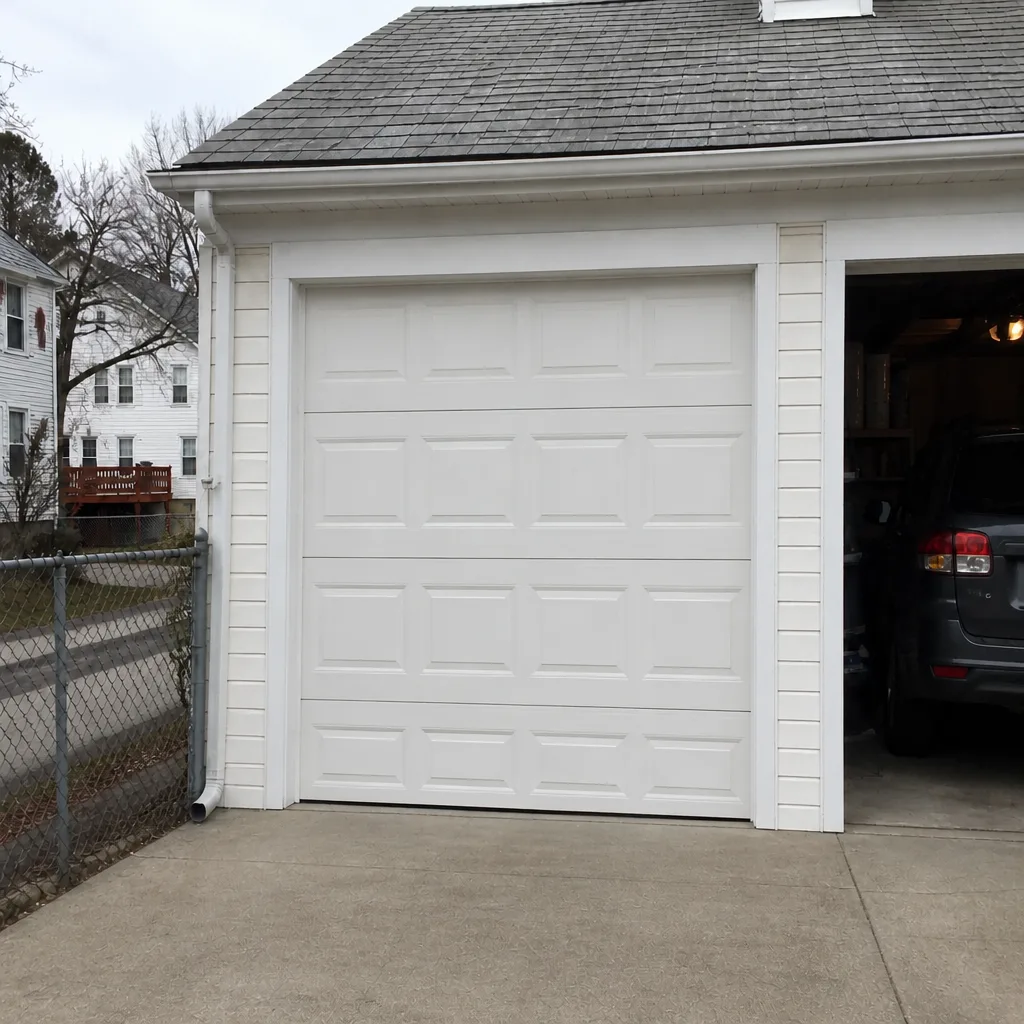 After
 Before
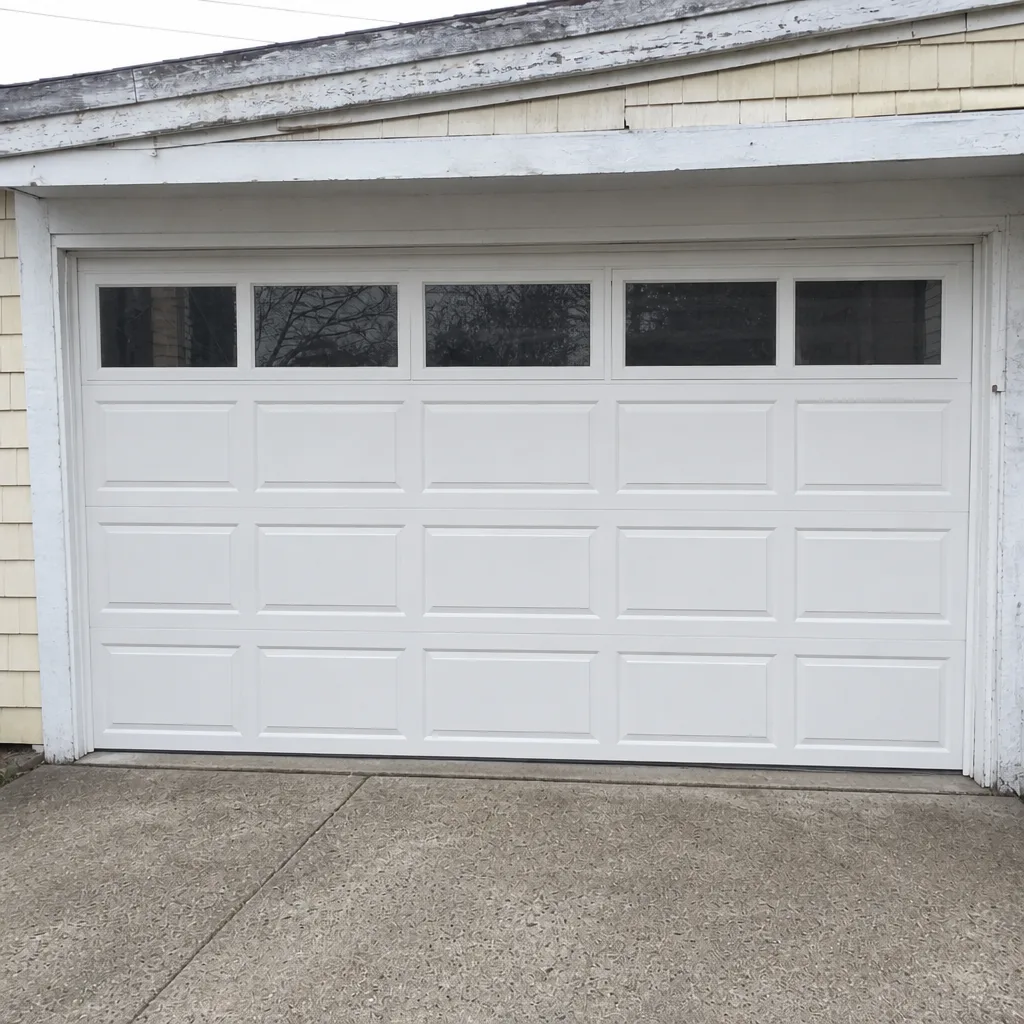 After
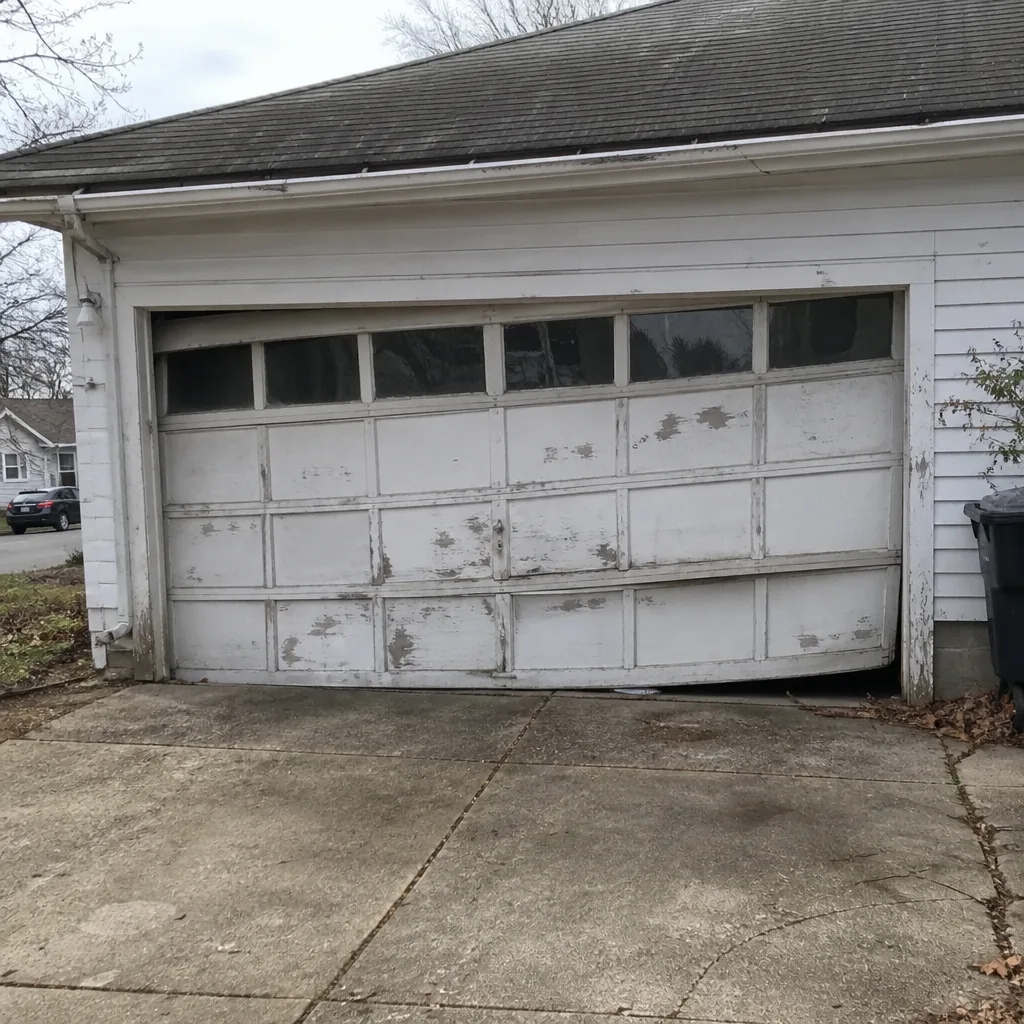 Before
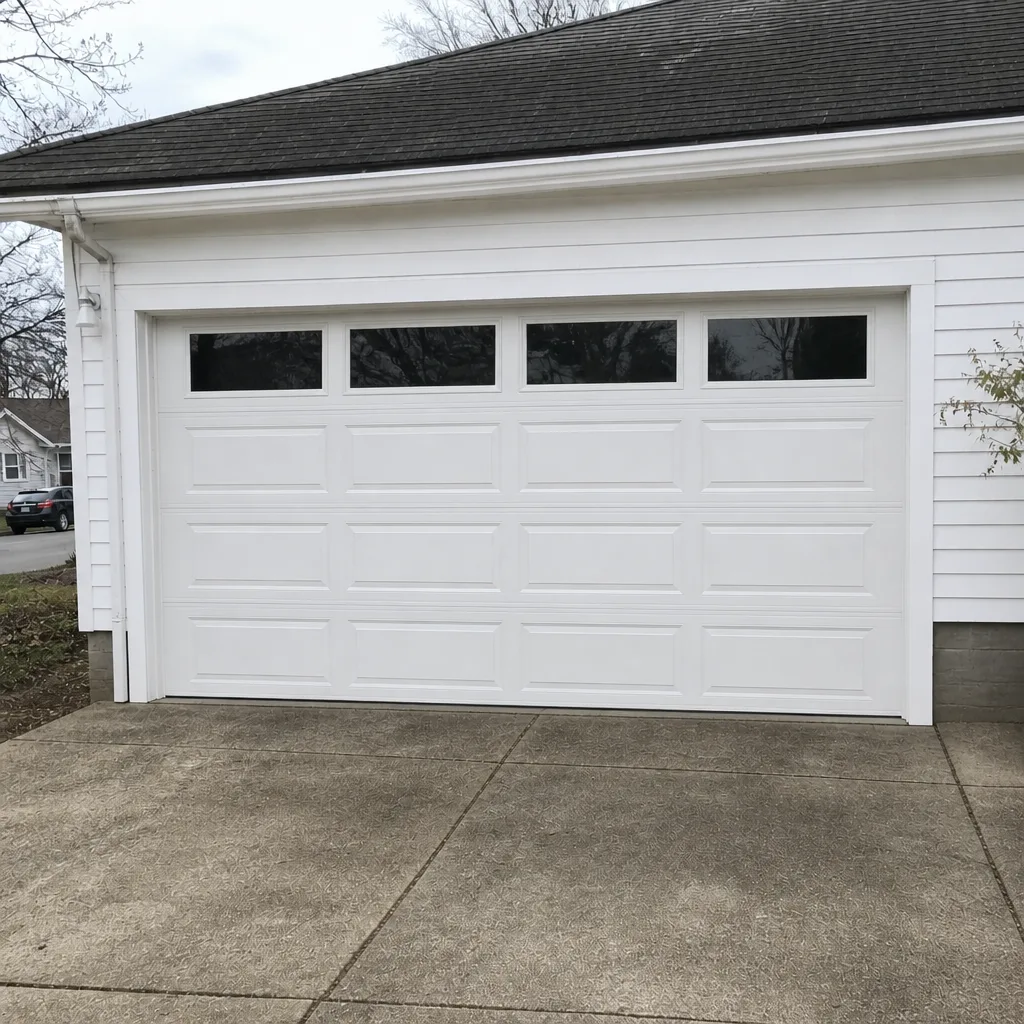 After
Common Mistakes to Avoid
- Running the door with a broken spring. The opener isn’t designed to lift the door’s full weight. Every cycle on a broken spring adds wear to the motor and bends tracks. Stop the door, then call.
- Guessing at opener adjustments. The force and travel limits have factory settings for a reason. Cranking up the force to compensate for a binding door doesn’t fix the bind, and it burns out the opener.
- Treating intermittent failures as harmless. A door that works 9 out of 10 times will eventually stop working entirely. The diagnosis is easier before the failure becomes total.
- Buying a new opener to solve a door problem. If the manual release test shows the door is heavy or binding, a new opener won’t help. Fix the door body first.
- Ignoring the bottom seal going into winter. A cracked seal will freeze to the floor harder each season. Replace it before the deep freeze, not after it tears away.
- Forcing a bent track straight. Track alignment depends on the mounting brackets being plumb and level. Straightening the track without fixing the brackets means it bends again on the next cycle.
- Assuming a brand-locked technician is your only option. Most garage door problems are system-level, not brand-level. A technician who knows Genie, Chamberlain, and LiftMaster equipment can diagnose the same issue on all three.
When to Call a Professional
Call a technician the moment any of these appear: a broken or visibly sagging spring, a snapped or slack cable, a door that has dropped on one side, a bent track, or an opener that hums and stops. These are the dangerous categories, and none of them improve with further use. Also call if the diagnosis from the symptom tree above lands on springs, cables, or the opener’s internal components – those are professional territory. Intermittent failures that don’t resolve after a sensor cleaning and remote check also warrant a call. Eastwood Garage Door Service offers free estimates in Providence – call (855) 613-2822. We answer 24/7, with fast dispatch from 7am to 7pm, Sunday through Friday. The price is quoted and agreed before any work starts, so there’s no surprise on the invoice. If you’re near Federal Hill, Mount Pleasant, or Washington Park and aren’t sure whether your issue needs a visit, the call itself is the fastest way to find out.
Frequently Asked Questions
Most common repairs in the Providence market run in the range of about $120 to $350 for a single spring, a sensor, or a hardware adjustment, and higher for opener internal repairs. The written estimate sets the final price and is quoted before any work begins. Call (855) 613-2822 for an exact quote – estimates are free.
Same-day service is often available for repair calls. We’re dispatched Sunday through Friday, 7am to 7pm. Call (855) 613-2822 to confirm the earliest opening – we answer 24/7, and a call outside dispatch hours is booked into the next opening.
A door that fails in cold weather and works once it warms up usually has a failing opener capacitor or a bottom seal that’s freezing to the floor. Both are common in Providence winters. A technician can tell which in one visit. Call (855) 613-2822 for a free estimate.
No. The written estimate you agree to is the price for the job. If the diagnosis uncovers something else, we’ll explain it and quote the additional work before doing it – never after. Call (855) 613-2822 for a free estimate.
Not necessarily. The most common cause is a stripped drive gear or a disengaged manual release, both covered under our opener repair work. Check the release cord first, then the sensors, and if neither explains it, it’s usually the drive gear. Call (855) 613-2822 for a diagnosis.
Yes, in almost every case. Matched springs are cycled together, so when one breaks the other is at the end of its rated cycle and will fail soon after. Replacing only the broken spring means paying for a second call. Our technicians have up to 11 years of experience, and we make this call based on the condition of the paired spring, not the sale.
Yes. Technicians dispatched through Eastwood Garage Door Service are state-licensed and insured. Call (855) 613-2822 for details specific to your service.
No. A broken spring means the opener is lifting the door’s full weight rather than the counterbalanced weight it’s designed for. Running it strains the opener and can bend tracks. Stop using the door and call (855) 613-2822 for a same-day appointment.
The Bottom Line
Your door is telling you what’s wrong every time it cycles. A grind is a roller. A pop is a spring. A door that fails on cold mornings and works by afternoon is a capacitor or a frozen seal. The specific failures you’ll see in Providence – spring fatigue clustering in the deep cold, bottom seals freezing to the slab, tracks shifting with the ground’s freeze-thaw movement – follow local patterns that generic guides miss. Learn to read the symptom, work through the two-minute opener-versus-door test, and respect the line between safe checks and hands-off repairs. Springs and cables are not DIY territory. Everything else, you can narrow down before you call. When the diagnosis lands on a professional repair, we’re ready – Providence homeowners can reach Eastwood Garage Door Service at (855) 613-2822 for a free estimate, with the price agreed before any work starts. We work on what you already have, whatever name is on the door or the opener.
Written by the team at Eastwood Garage Door Service.