
Last updated November 15, 2026
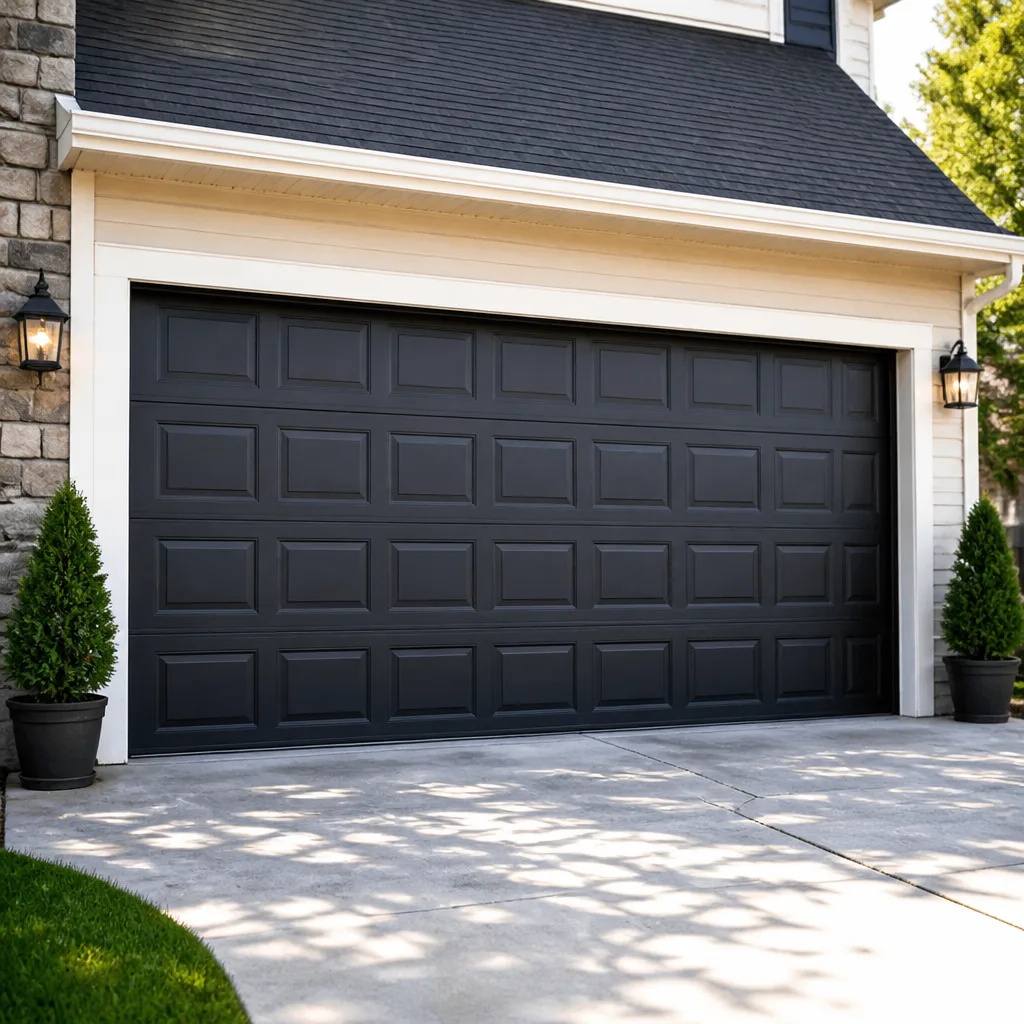 Raised-panel steel
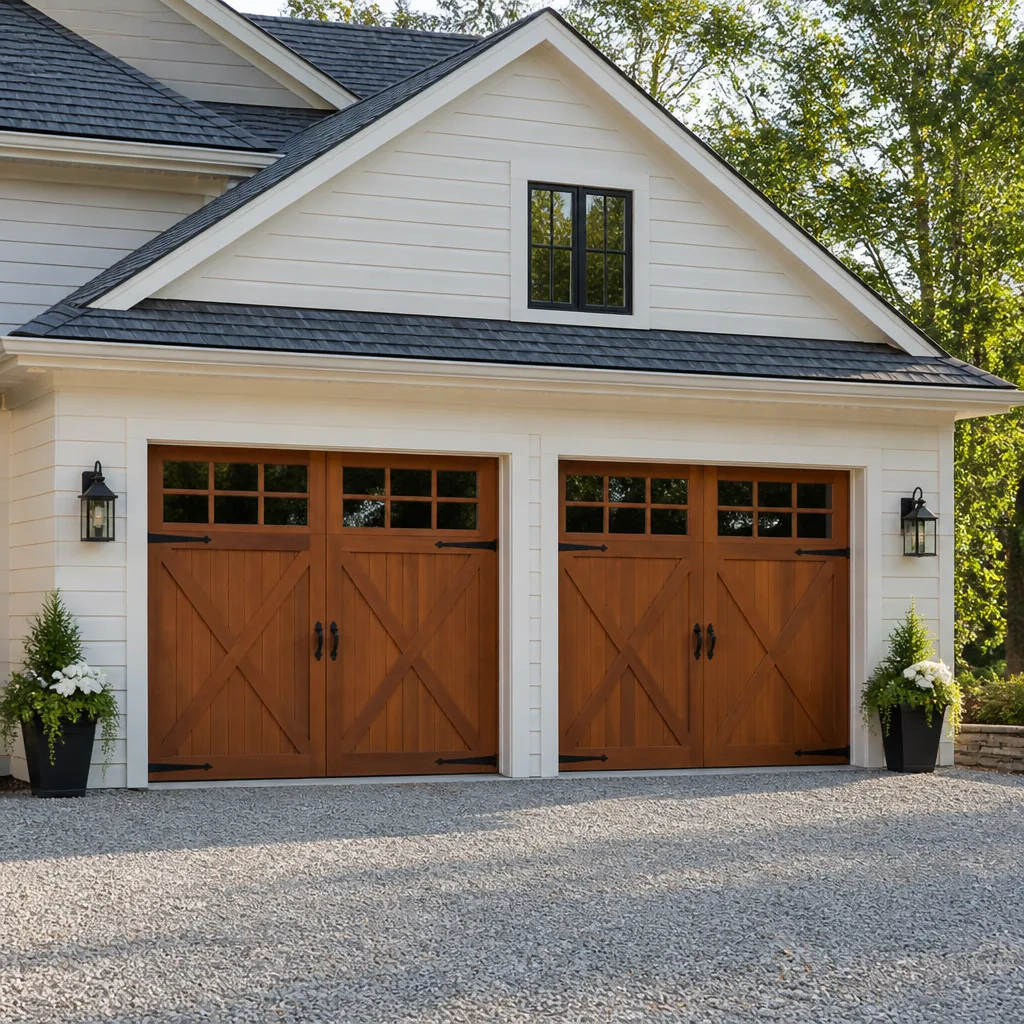 Carriage house
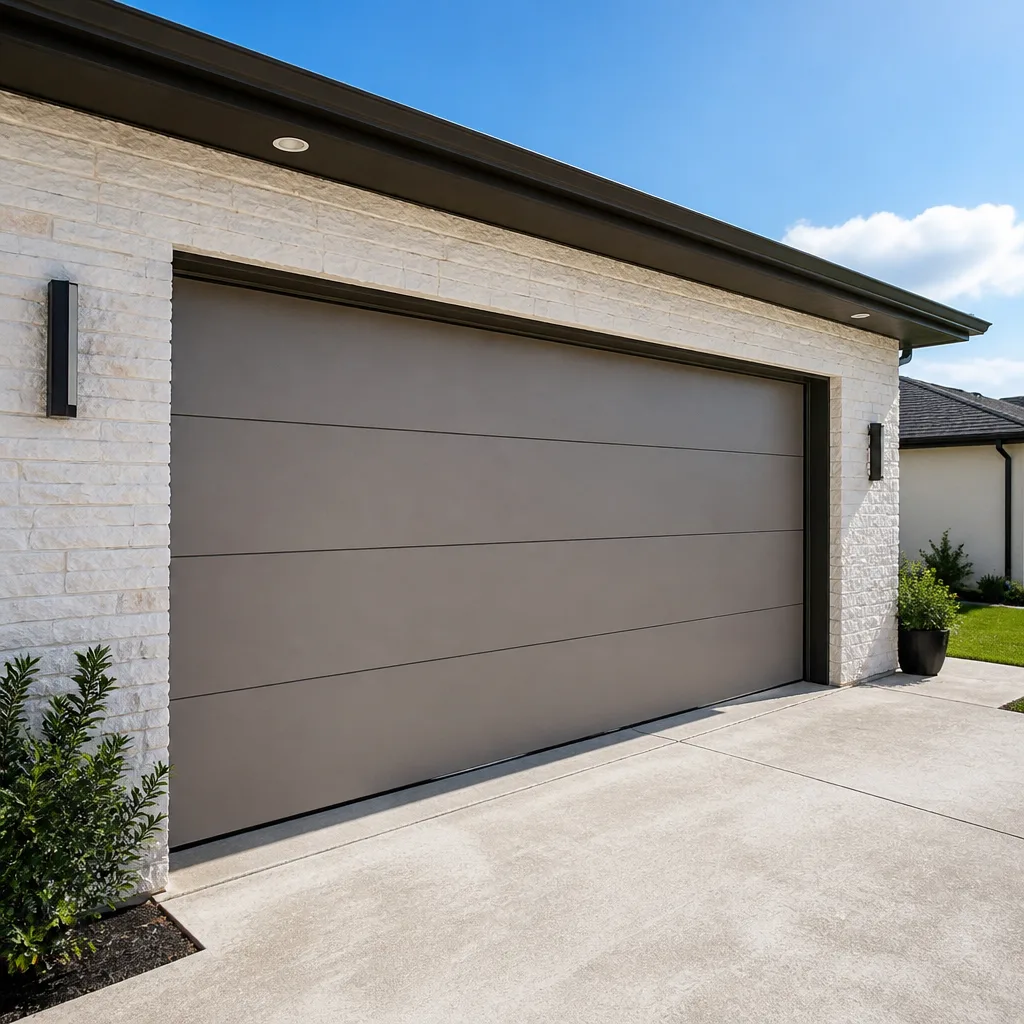 Modern flush
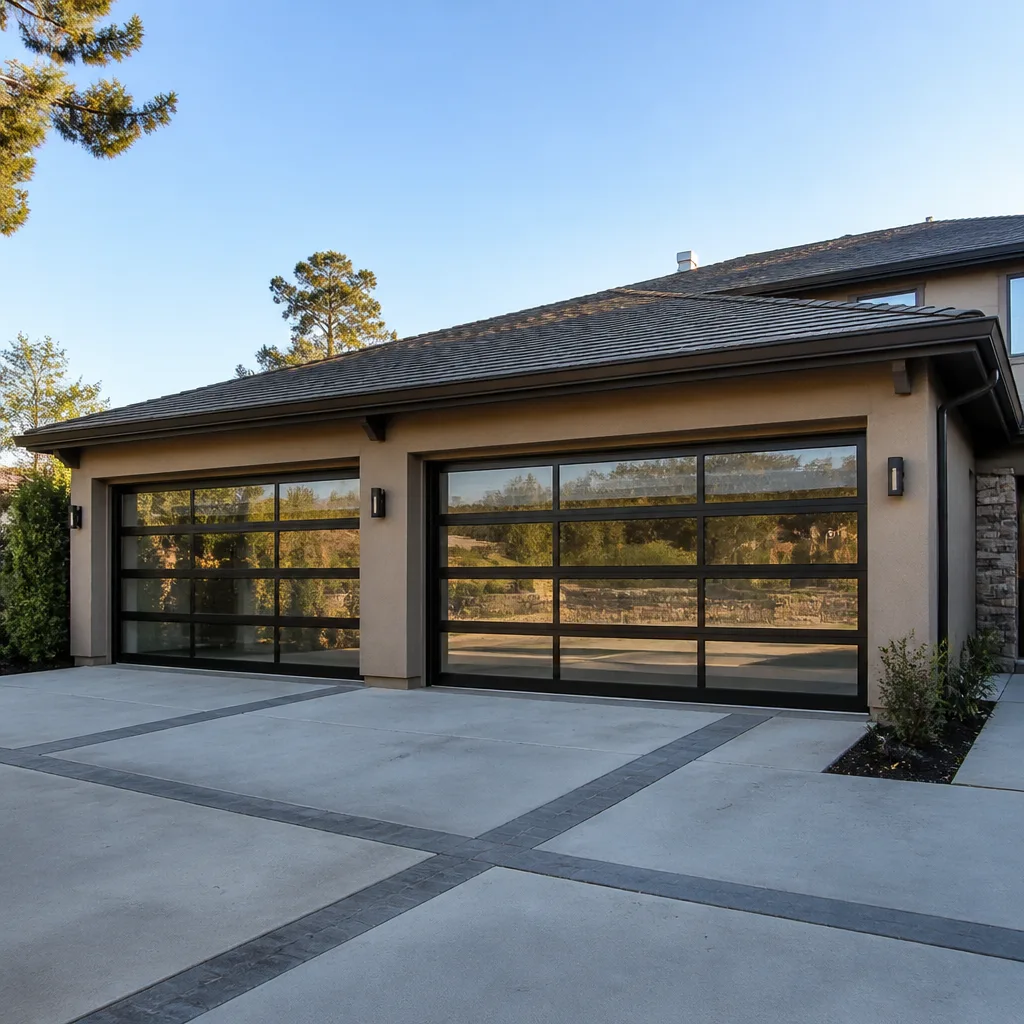 Full-view glass
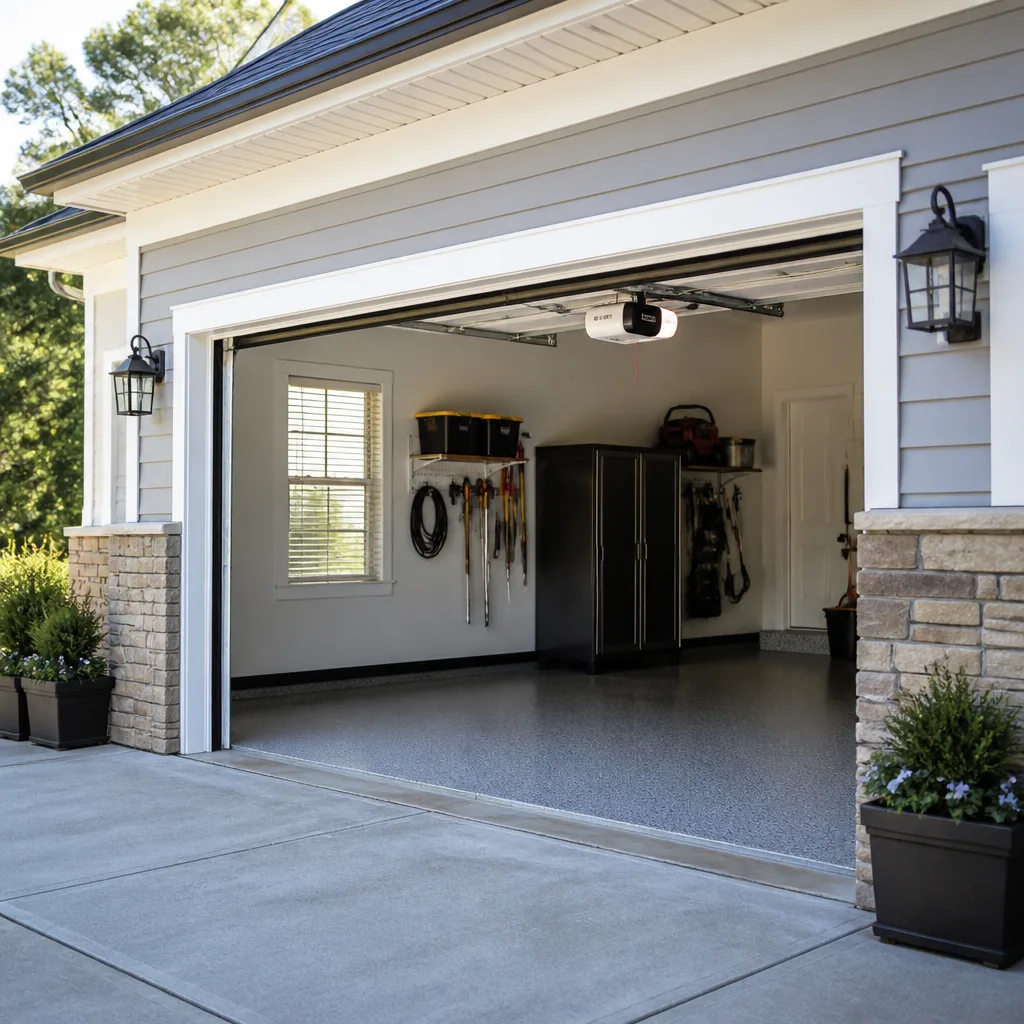 LiftMaster openers
 Chamberlain openers
Full 25-point door and opener safety check with every visit - springs, cables, rollers, tracks, and your LiftMaster or Chamberlain opener included
You get a price before we start. It does not change when the pro arrives.
Get your free estimateGarage Door Repair Maintenance Checklist for Providence Homeowners
A lubricated chain and a quick visual scan aren’t a maintenance plan. They’re a ritual. The parts that actually fail on a garage door in Providence don’t fail at random; they fail in a sequence, and that sequence is shaped by what a Rhode Island winter does to metal, grease, and wood. Knowing which component goes first, and which ones are still fine, is worth more than any generic checklist you’ll find on a home-improvement site. This guide walks you through what to look at, in what order, what failure actually looks like versus ordinary wear, and when a visual finding is a call-a-professional finding. We’ll cover Providence from Elmwood to Mount Pleasant, and we’ll tell you which checks you can do yourself and which ones you shouldn’t touch.
Quick Answer
A garage door maintenance checklist in Providence should focus on three things above all: spring condition, roller and hinge wear, and the safety reverse test. In Rhode Island’s freeze-thaw climate, springs fatigue faster because the door cycles more against ice buildup at the bottom seal, rollers flatten in cold months, and hinges dry out from indoor heating and outdoor damp trading places all winter. Check those three first. Everything else is secondary.
Styles & brands we work with
- Raised-panel steel
- Carriage house
- Modern flush
- Full-view glass
- LiftMaster openers
- Chamberlain openers
Table of Contents
- The Providence Failure Sequence: What Breaks First, and Why
- Springs: How to Tell Wear From a Real Problem
- Rollers, Hinges, and Tracks: The Rolling Hardware
- Cables and Drums: The Parts You Shouldn’t Touch
- Lubrication: What to Use, What to Skip, and Where
- The Safety Reverse and Force Test Most Homeowners Skip
- Bottom Seals, Weatherstripping, and the Winter Ice Problem
- Logging Findings Over Time: Why a Snapshot Isn’t Enough
The Providence Failure Sequence: What Breaks First, and Why
If you watch a hundred garage doors in Providence over a full year, a pattern emerges. The bottom weather seal gives out first. Then the rollers start to flat-spot. Then the hinges dry and squeal. Then the springs start to show fatigue. Every one of those failures is a cold-and-wet failure, not an age failure. The seal takes the most punishment because it’s the piece that literally contacts the icy slab during freeze-thaw weeks in January and February. Once the seal is compromised, water reaches the bottom panel, and the bottom panel starts to corrode at the seams and along the bottom rail.
The rollers come second because they carry the full weight of the door through every cycle, and cold rubber rollers lose their roundness faster than warm ones. Flat-spotted rollers drag on the tracks, and that drag translates into extra force on the springs, the opener, and the hinges. Which means a worn roller isn’t just a roller problem; it’s the beginning of a whole cascade.
Springs come last in the sequence but they’re the most consequential when they go. A torsion spring that’s been fighting a dragging door and a cold seal for two winters will fatigue faster than the same spring on a door that’s been properly lubricated and sealed. The key insight here is that you can delay every failure downstream by fixing the one upstream. A $20 bottom seal replaced in October saves rollers, hinges, and eventually spring life.
Inland Providence neighborhoods like Mount Pleasant and Elmwood see faster freeze-thaw wear than the neighborhoods closer to the bay, because the ground temperature swings more sharply and the door goes through more expansion-contraction cycles. Coastal neighborhoods get their own cycle, driven by damp-over-dry rather than freeze-over-thaw. Both patterns are hard on the same components, just in a slightly different order. If you want the full picture of what we see on a garage door repair call in either kind of neighborhood, the sequence above is the one we find over and over.
Springs: How to Tell Wear From a Real Problem
Torsion springs sit above the door, on a metal shaft, and they do the actual lifting work. Extension springs run along the top tracks on older doors. Both are under extreme tension. This section tells you what to check, not how to fix it. Do not try to adjust, wind, unwind, remove, or replace a spring yourself. A torsion spring carries enough stored force to cause serious injury even if the door is down, and the tools that professionals use to wind them are not something you can substitute with what’s in a typical garage. If you suspect a spring problem, call a trained technician.
Here’s what’s safe to look at:
- Gap in the coil. A torsion spring should be a continuous coil. A visible gap of more than about a sixteenth of an inch means it’s deformed and should be looked at.
- Rust on the coil. Surface dusting of rust is normal in Providence’s damp winters. Flaking, pitting rust on the spring is not.
- Stretched extension springs. If a spring has stretched so the coils are no longer touching when the door is closed, it’s done its work and needs replacement.
- Door feels heavier than it did. If you lift the door by hand (only when the opener is disconnected and the door is fully closed, and only if the door is light enough that you can lift it without strain), a door that suddenly feels much heavier is a spring warning.
What most homeowners misread is the difference between cosmetic and structural wear. A little surface rust means nothing on a spring. A flattened coil, a gap, or a door that won’t balance halfway up means something. If you’re not sure, that’s the moment to stop and call. Our garage door repair service handles spring replacement on Clopay, Amarr, Wayne Dalton, and Raynor doors regularly, and the diagnosis takes minutes once a technician is on site.
On the price question: single torsion spring replacement in the Providence market typically runs in the range we quote per job by written estimate, and a matched pair (which is what most doors actually need, because both springs have seen the same cycles) costs roughly twice a single spring. The written estimate you receive before any work begins is the price. There’s no surprise on the invoice. That’s the standard we hold ourselves to.
Rollers, Hinges, and Tracks: The Rolling Hardware
Rollers are the small wheels that ride inside the track. Hinges are the metal plates that connect panels. Tracks are the vertical and horizontal rails the whole system runs on. All three are inspection-only for homeowners; track adjustment in particular is a job for a technician, because a track that’s been hammered back into place inside the garage will usually go out of alignment again within a season, and the door can come off the track if the fix is wrong.
What to look for on each:
Rollers
- Rollers should be round. If you can see a flat spot on the edge, the roller is worn.
- Metal rollers with worn bearings will squeal or grind. Nylon rollers can crack at the hub in cold weather.
- A door that shudders on the way up or down, or that jumps slightly at one spot, is usually a roller problem, a track problem, or both.
Hinges
- Hinges should be tight and free of visible rust-through. Surface discoloration is fine.
- Look for splits in the metal along the bend of the hinge. A split means it’s ready to fail.
- Squealing or grinding at a specific height is usually a hinge, not a spring.
Tracks
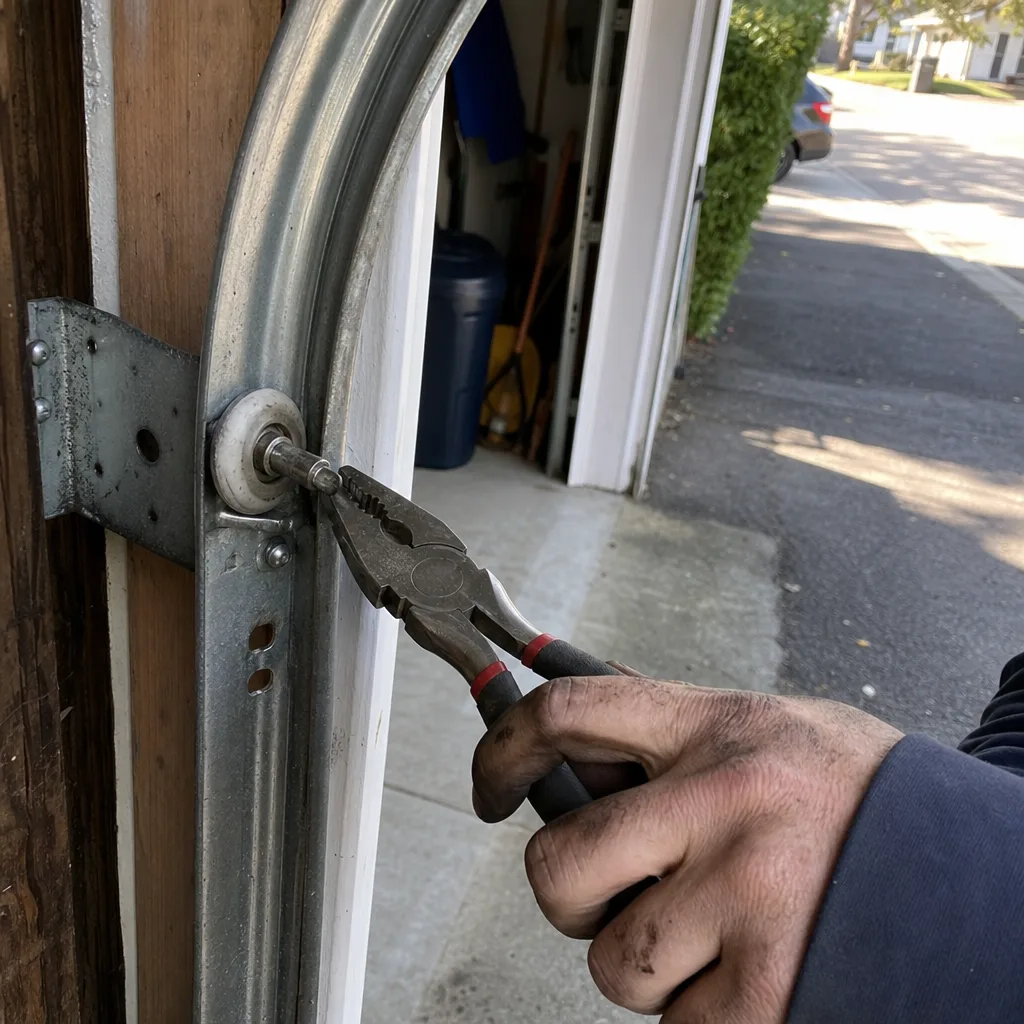
- The vertical tracks should be parallel. Run a hand (carefully) along the inside edge; you’re checking for dents and bends, not for smoothness.
- Look for impact damage on the outside of the vertical tracks near the bottom. A bumper tap in a tight Providence driveway is the most common cause.
- Loose track bolts should be tightened by a technician, not by hand, because over-tightening a bent track can make it worse.
We find that replacing rollers and hinges together, when several are worn, ends up cheaper than replacing them piecemeal over an eighteen-month stretch, because each visit carries its own cost. It’s worth asking a technician to assess the whole rolling hardware set in one go rather than the one squealing roller that brought you in.
Cables and Drums: The Parts You Shouldn’t Touch
The cables lift the door via the drums at the ends of the torsion shaft, and they are under the same kind of tension as the springs. Do not touch them. Do not try to re-seat a cable that has come off a drum. Do not adjust the drum set screws. Call a technician. Cables under tension can cause serious injury, and a cable that’s off its drum while the door is up will usually let the door drop on the next cycle.
What’s safe to inspect:
- Cable dressing. The cable should be wound evenly around the drum. Any crossover, bunching, or slack spot is a call-a-professional finding.
- Fraying. Look for broken strands on the visible run of cable. A frayed cable is a soon-to-fail cable.
- Drum wear. The grooves on the drum should be clean and even. A worn drum will let the cable drift and can unspool it.
- Corrosion at the bottom bracket. This is where the cable attaches to the bottom panel, and in Providence it’s where damp collects. Rust on the bracket is the beginning of a cable failure.
When we open up a cable-and-drum problem on a LiftMaster or Chamberlain system, we’re usually able to tell a homeowner quickly whether the issue is a cable, a drum, or a spring balance problem. That’s one of the reasons we like working on those drive systems, and on Craftsman and Raynor openers, so much: the components are recognizable, the wear patterns are consistent, and we’re not guessing at what a proprietary part is supposed to look like.
Lubrication: What to Use, What to Skip, and Where
Here’s where most homeowners overdo it. Lubrication helps, but not everywhere, and the wrong product will actually attract grit and make things worse. In Providence’s damp-cold-warm-damp cycle, the wrong product gets tacky in summer, then gummy in winter, then holds a layer of grit against a moving surface.
Use these, and use them lightly:
- White lithium grease or a garage-door-specific spray lubricant on the springs. Light coat, not a soak.
- Hinge pivots and roller stems. One drop or one short spray per point. That’s it.
- Opener rail or chain. Use the manufacturer’s recommended lubricant for the model. LiftMaster and Chamberlain belt-drive systems use a tension check rather than a lubricant; chain-drive systems on Genie and Craftsman units want a light oil specific to the chain. Don’t assume the same product works across brands.
Do NOT lubricate:
- The tracks. Lubricant in the tracks traps grit against the rollers and accelerates roller wear. The tracks should be clean and dry.
- Nylon rollers. They’re designed to be dry. Grease on a nylon roller attracts debris and can crack the hub when the temperature drops.
- The opener belt. Belts are dry-running. Grease on a belt can cause it to slip or degrade.
- The photo-eye lenses. Clean with a dry cloth only. Solvent will fog the plastic.
Check the manufacturer’s manual for your door brand. Clopay, Amarr, Wayne Dalton, and Raynor doors each have slightly different spring and hinge recommendations, and using the right product on your specific door is one of the small things that separates a one-year lubrication from a one-month one. If the manual is lost, the model number on the opener head or on the door’s bottom rail is enough for a technician to look up the right product mix.
The Safety Reverse and Force Test Most Homeowners Skip
The safety reverse test is the single most valuable five minutes you can spend on your garage door, and almost nobody does it. It’s the check that confirms the door will reverse if it hits something on the way down. On every opener, that safety function is mechanical or optical, and it can drift out of adjustment without any warning.
Here’s the protocol. Do this monthly.
- Photo-eye test. With the door open, wave a solid object across the beam between the two sensors mounted at the bottom of the tracks. The door should not close (or should reverse immediately if it was closing). If nothing happens, the sensor is faulty or misaligned, and it’s the most common cause of a door that “won’t close” complaint in Providence.
- Auto-reverse test. Lay a piece of 2×4 flat on the ground in the path of the door. Close the door using the wall control. The door should reverse when it contacts the board. If it doesn’t, the force setting is too high, and the opener is doing exactly what it was told to do, which is the problem.
- Balance test. Close the door, disconnect the opener (usually a red pull cord on the carriage), and lift the door to about halfway. A properly balanced door should hold there with minimal effort. If it drops, the spring is under-tensioned. If it flies up, it’s over-tensioned. Either way, that’s a call to a technician, not a DIY adjustment.
- Force test. On most openers there’s a force-setting dial or a digital menu. Check that the setting matches the door weight; if it’s been adjusted previously to compensate for a dragging door, it’s masking a mechanical problem rather than fixing one. A technician can lower it back to spec once the drag is fixed.
What most homeowners don’t realize is that a force setting that’s been turned up to compensate for a dragging roller will let the door close on a pet or a child before it reverses. The safety test isn’t a formality. It’s the check that tells you the door is safe to live with. If your door fails the auto-reverse or photo-eye test, stop using the opener until it’s addressed, and call a technician.
Bottom Seals, Weatherstripping, and the Winter Ice Problem
The bottom seal is the single most neglected piece of a Providence garage door, and it’s the first piece in the whole failure sequence. When it fails, everything downstream goes faster. There are two parts: the rubber seal on the bottom panel, and the weatherstripping on the sides and top (often called the stop molding). Both are inspected from the ground, and both are replaceable without a technician if you’re comfortable with a few basic tools, though the bottom seal replacement requires care to avoid damaging the bottom panel’s aluminum retainer.
What to check on the bottom seal:
- Cracks or splits. A split seal lets water directly onto the panel and the bottom bracket.
- Flattening. The seal should still have a rounded profile. A flattened seal isn’t doing its job.
- Freezing to the slab. If the door freezes to the floor on cold mornings, the seal is either too compressed or the door is closing too hard. The first is a seal problem; the second is a force-setting problem.
- Gaps at the corners. These are the water entry points in a Rhode Island freeze-thaw.
What to check on the side weatherstripping:
- The molding should touch the door evenly. If it’s pulling away at one corner, that’s a wind and water gap.
- Check for rot at the wood backing. The stop molding is nailed to the frame; if the frame is rotten, the molding won’t stay attached no matter how many times you re-nail it. That’s a bigger job than a weatherstrip replacement and it’s worth knowing about before it becomes a panel replacement.
Replacing a bottom seal in the fall, before the first hard freeze, is one of those preventive-maintenance moves that pays for itself in extended component life. In Providence, the window between “warm enough to work outside” and “cold enough to freeze to the floor” is best used for exactly this.
Logging Findings Over Time: Why a Snapshot Isn’t Enough
A single inspection tells you the condition of the door today. A log tells you what’s actually happening. The difference matters when you call a technician, because a snapshot forces them to guess at the rate of wear; a log lets them see the pattern. If your notes say a spring had a small gap in March and the same gap is twice as wide in September, we can tell you it’s going and can schedule the replacement on your terms. Without those notes, we’re guessing from one data point.
What to record each month, on a five-minute walkaround:
- Date and outdoor temperature. Wear happens faster in cold months; noting temperature gives the trend a shape.
- What you tested and what you saw. “Photo-eye test: passed. Balance test: door held at halfway. Spring gap: none visible.” Two sentences is plenty.
- Any new noise, or any noise that’s changed. Squeal, grind, thud, or thump, and where on the door’s travel it happens.
- Any new visible wear. Rust spots, seal cracks, roller flat spots. Photograph them from the same angle each time and store the photos with the log.
- Any service you paid for and by whom. Keeps your warranty and service record clean and makes it easier to diagnose related problems later.
A phone note or a paper log in the garage both work. The point is that when you finally call someone, you can say “the squeal started in November and got louder by January” instead of “it just started making noise.” That’s the difference between a fast diagnosis and a return visit for the same issue. It’s also the kind of information a technician working on a specific brand quickly learns to trust, whether it’s a Chamberlain smart opener raising an alert on your phone or a Craftsman chain unit that’s been the same since the day it was installed.
Common Mistakes to Avoid
- Lubricating the tracks. It feels productive and it’s actually the fastest way to ruin a set of rollers. The tracks should be clean and dry; the moving contact points (hinges, roller stems, springs) get the lubricant.
- Adjusting the force setting instead of fixing the drag. When the door starts to struggle, the temptation is to turn the force dial up. That works, in the sense that the door moves again, but it also disables the safety reverse. Find the drag; don’t mask it.
- Treating a small spring gap as cosmetic. In a damp Providence winter, a small gap in a torsion spring coil is the start of a fatigue pattern. It’s not a “wait and see” finding; it’s a “get it looked at” finding.
- Waiting until the bottom seal is shredded. A worn seal is loading up the rest of the door with extra weight and friction every single cycle. Replace it before the first hard freeze, not after.
- Assuming that all 2×4 and door brands want the same maintenance. A Clopay door with nylon rollers and a Raynor door with steel rollers don’t want the same lubrication points. Check the manual, or ask a technician who works on that brand.
- Skipping the safety reverse test because “it worked last time.” The force setting and the photo-eye alignment can drift slowly, without any visible warning. Monthly testing is the whole point.
- Storing everything in your head. A snapshot in your memory is worthless eighteen months later. Even a five-line note a month is worth more than a perfect memory that’s already faded.
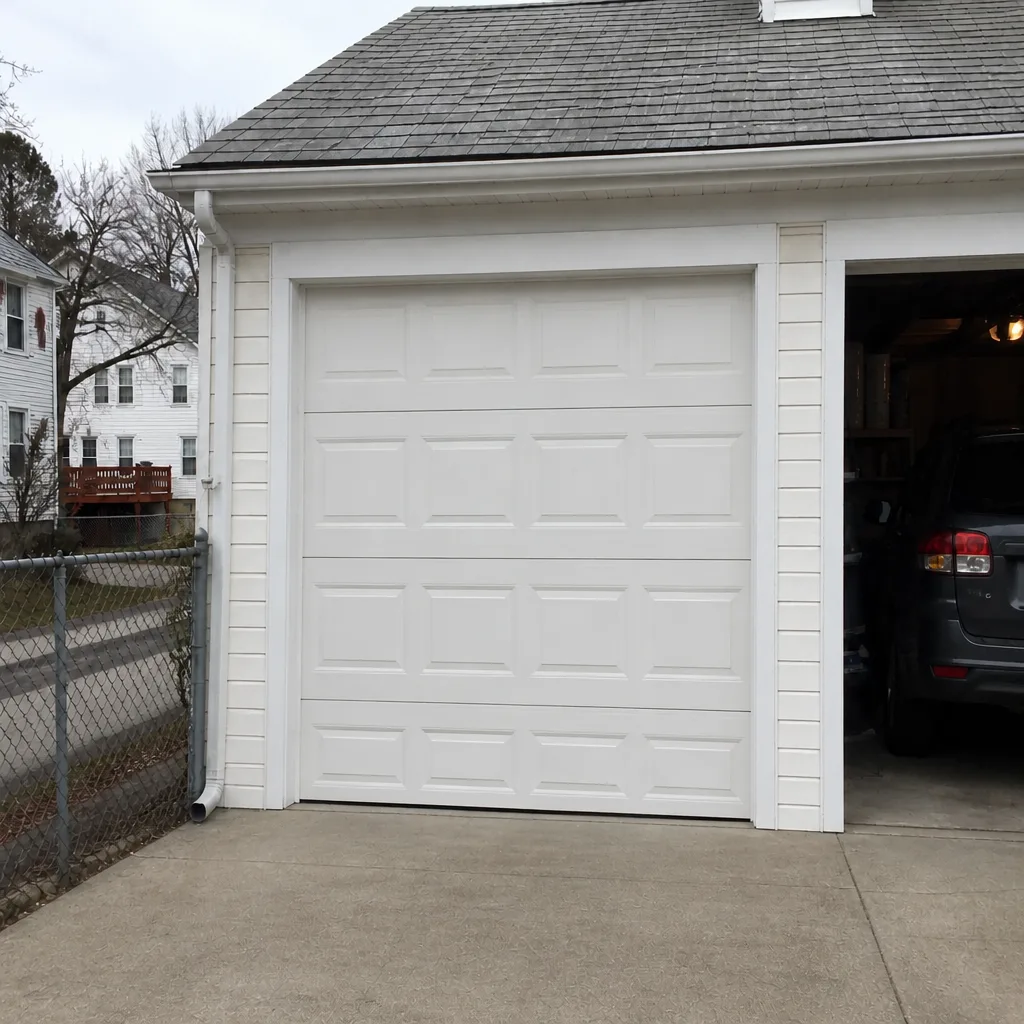
See the difference
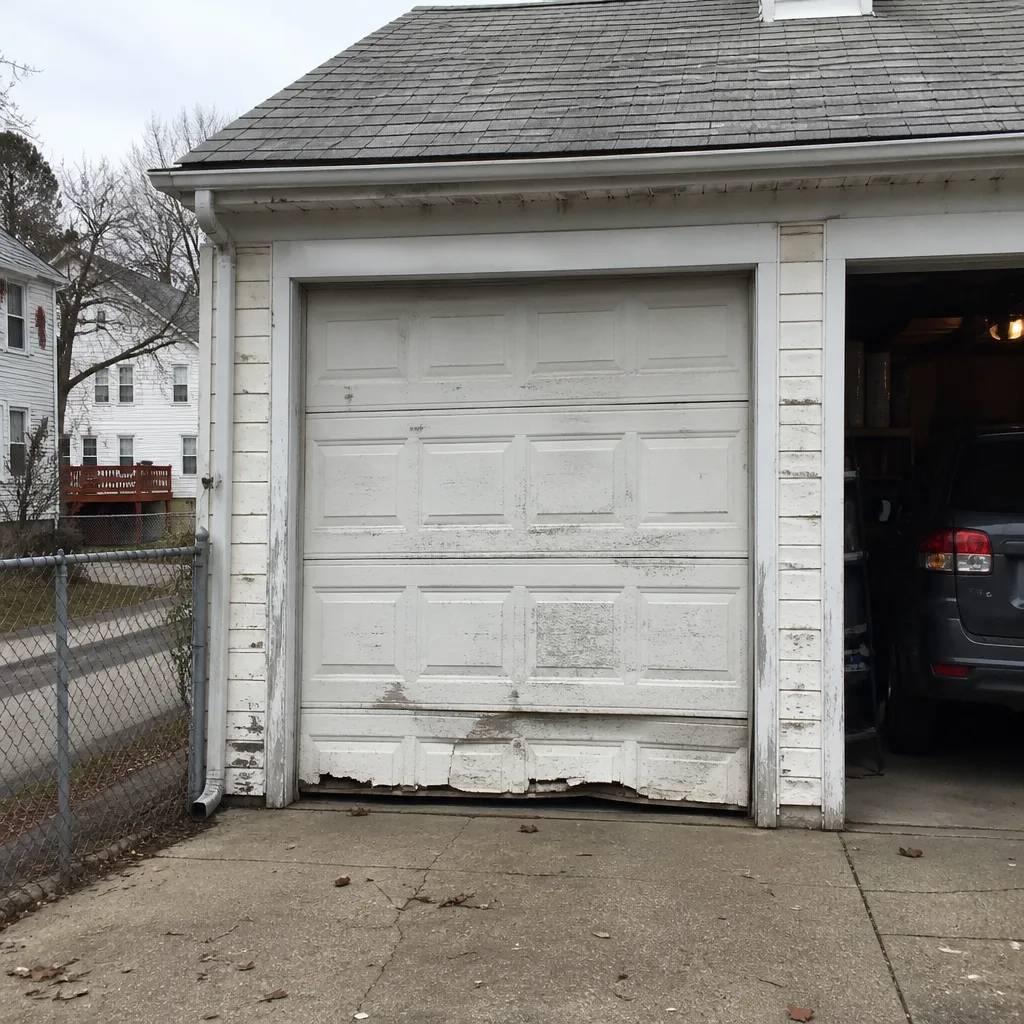 Before
 After
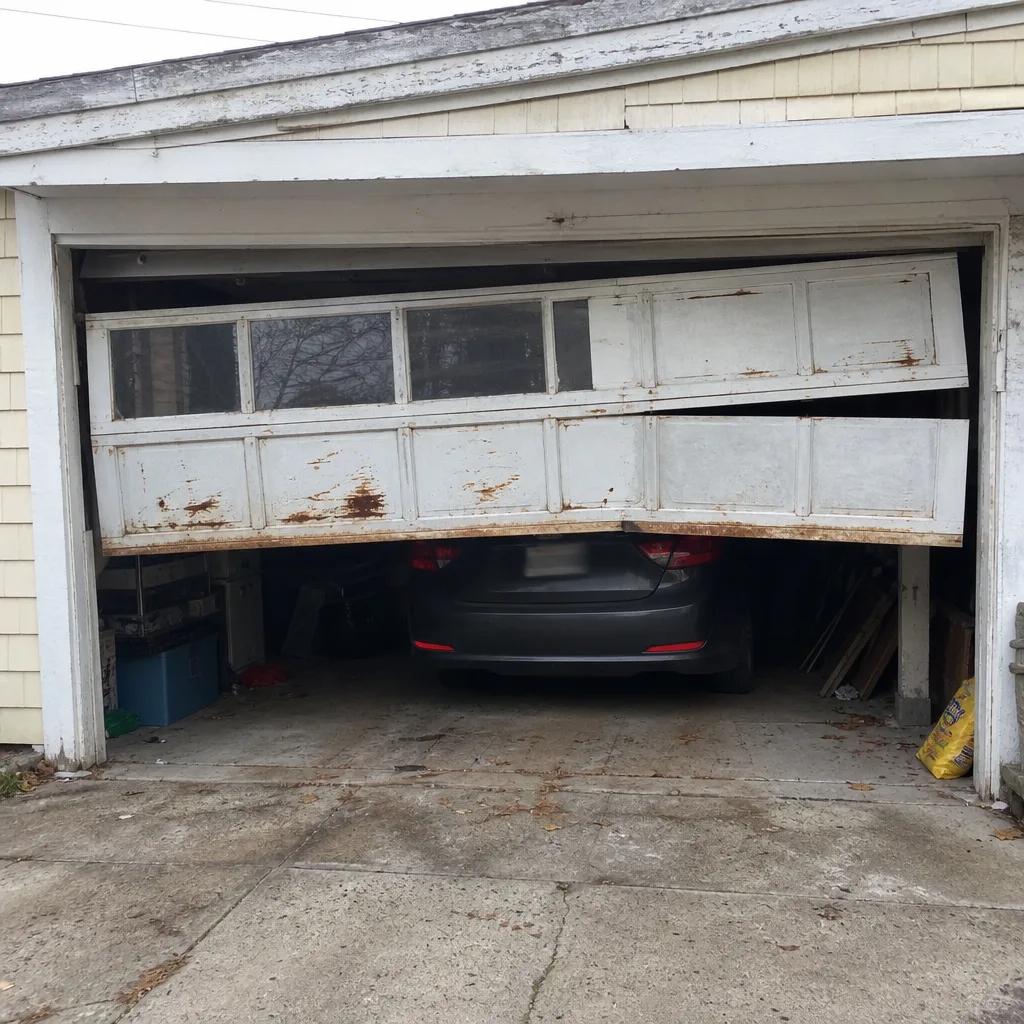 Before
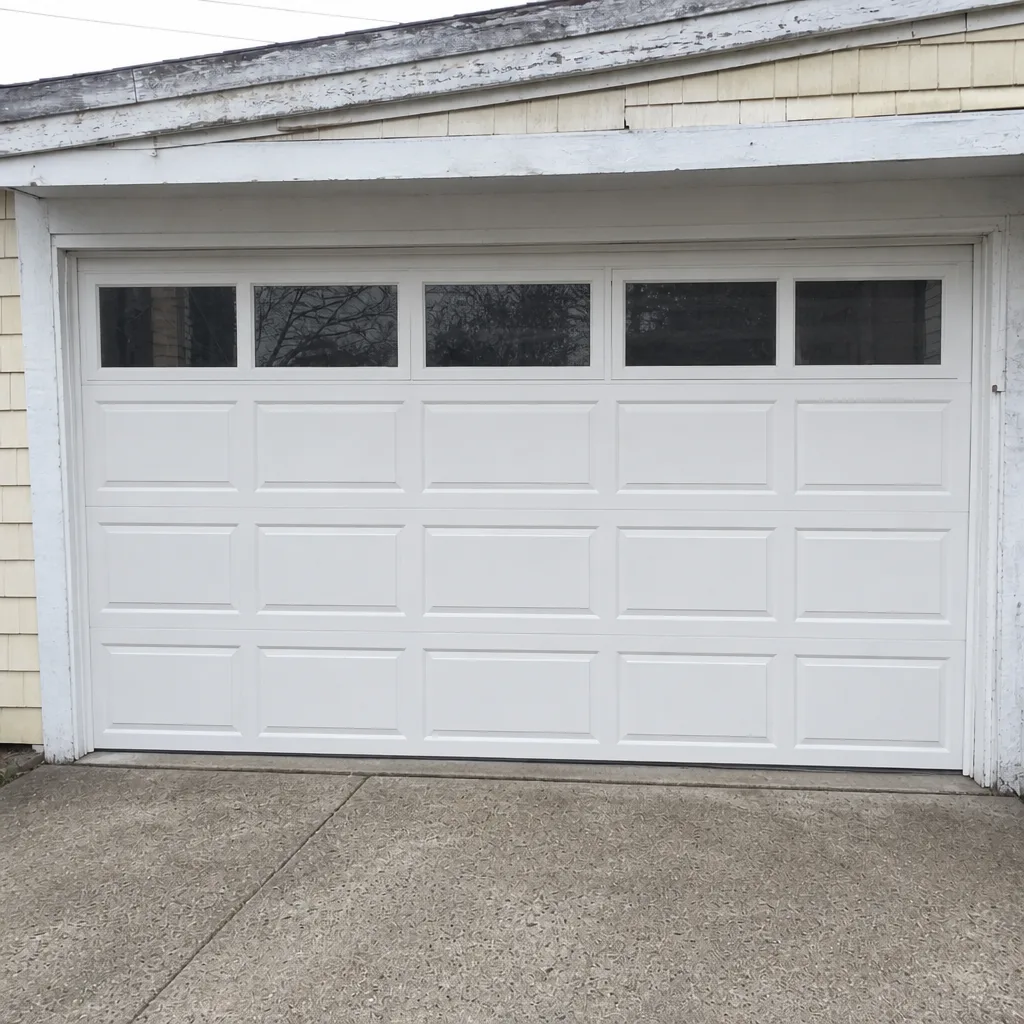 After
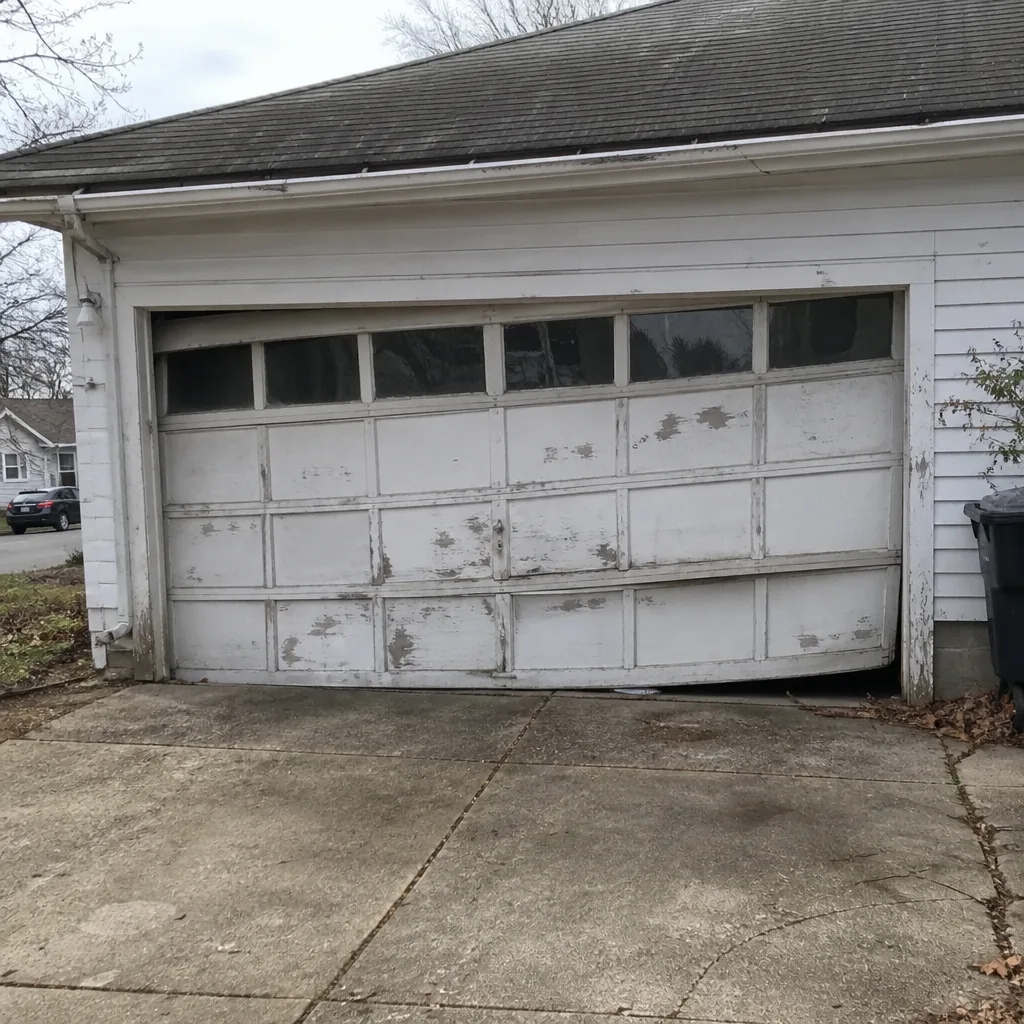 Before
 After
When to Call a Professional
Some maintenance is homeowner work. Some of it is a technician’s work, and the difference matters most when springs, cables, and drums are involved. Call a professional if any of the following is true: a torsion spring has a visible gap or is broken; a cable has come off its drum, is frayed, or looks slack; the door won’t balance at halfway; the auto-reverse or photo-eye test fails; a hinge is split or a track is visibly bent; or the door is grinding, shuddering, or reversing without an obvious cause. New installations and door replacements should also go to a technician, both for the safety of the work and for the warranty on the door itself. For Providence winters, a fall check is worth scheduling even if nothing is wrong, because the wear cycle is at its most aggressive between the first freeze and the spring thaw. For garage door repair in Providence, a free estimate is the standard starting point, and the price is set before any work begins. If you’re not sure whether your issue is a repair or a replacement, that’s a good conversation to have on the phone before anyone comes out. For Providence-area homeowners, Eastwood Garage Door Service offers free estimates. Call (855) 613-2822. We answer 24/7. Fast dispatch from 7am to 7pm, Sunday through Friday.
Frequently Asked Questions
Do a five-minute visual scan and the safety reverse test monthly, and a deeper inspection (springs, rollers, hinges, cables, seals) twice a year, ideally in the fall and spring. In Providence’s climate, the fall check is the important one, because it catches seal and roller wear before the freeze-thaw months load up the door. Call (855) 613-2822 for a free estimate if the fall check turns up anything you’re not sure about.
The bottom weather seal fails first, followed by rollers, then hinges, then springs. The sequence is driven by freeze-thaw and damp rather than by the age of the door. Fixing the seal delays the rest; ignoring it accelerates everything downstream. If you’re seeing more than one failure at once, call a technician before it snowballs. Call (855) 613-2822 for a free estimate.
No. Torsion and extension springs are under dangerous tension, and the tools used to wind and unwind them are not the kind of thing you can safely substitute. Spring replacement should always be done by a trained technician. Call (855) 613-2822 for a free estimate, and don’t operate a door with a broken or visibly fatigued spring in the meantime.
Most often the bottom seal is compressed, cracked, or missing a corner, letting water reach the concrete and freeze the door down. Less often it’s a force setting too high, pushing the door hard against the slab. Replacing the seal in the fall usually solves it. Call (855) 613-2822 for a free estimate if you’re not sure which issue you’re dealing with.
Slightly, yes. The main maintenance points are the same across brands, but the lubrication guidance and the force-setting adjustment differ by opener model. A LiftMaster or Chamberlain smart opener, a Genie or Craftsman chain unit, and a Clopay, Amarr, Wayne Dalton, or Raynor door each have their own recommended products and settings. If the manual is lost, a technician familiar with the brand can tell you what to check. Call (855) 613-2822 for a free estimate.
Stop using the opener. A door that fails the auto-reverse test is not safe to operate, and the risk is not worth the convenience of a working opener. The cause is usually a misaligned photo-eye, a faulty sensor, or a force setting that’s been turned up to compensate for a drag. Call (855) 613-2822 for a free estimate and we’ll get the safety systems back to spec.
The Bottom Line
Garage door maintenance in Providence isn’t a checklist; it’s a sequence. The bottom seal goes first, then rollers, then hinges, then springs. Every failure you catch early protects the components downstream of it, and the safety reverse test protects the people in your house. Do the monthly five-minute scan. Do the fall check. Log what you find. Leave the springs, cables, and drums to a technician. If you’re buying a new door or replacing an opener, a free measure and a written estimate is how the price gets set, and the written estimate is the number you’ll see. On garage door opener repair and repair work, same-day service is often possible. On new installation, the measure and quote come first and the install is scheduled.
If you’d rather put your Providence garage door in the hands of a technician who works on what you already have and can see the whole system in one visit, that’s exactly what we do at Eastwood Garage Door Service. Our technicians have up to 11 years of experience, and we’re certified to service eight of the most widely installed garage door and opener brands in North America. Free estimates. Upfront pricing. The price is quoted and agreed before any work starts. Call (855) 613-2822. We answer 24/7. Fast dispatch from 7am to 7pm, Sunday through Friday.
Written by the team at Eastwood Garage Door Service.